Garage & workshop · 12 steps
2x4 Garage Shelving
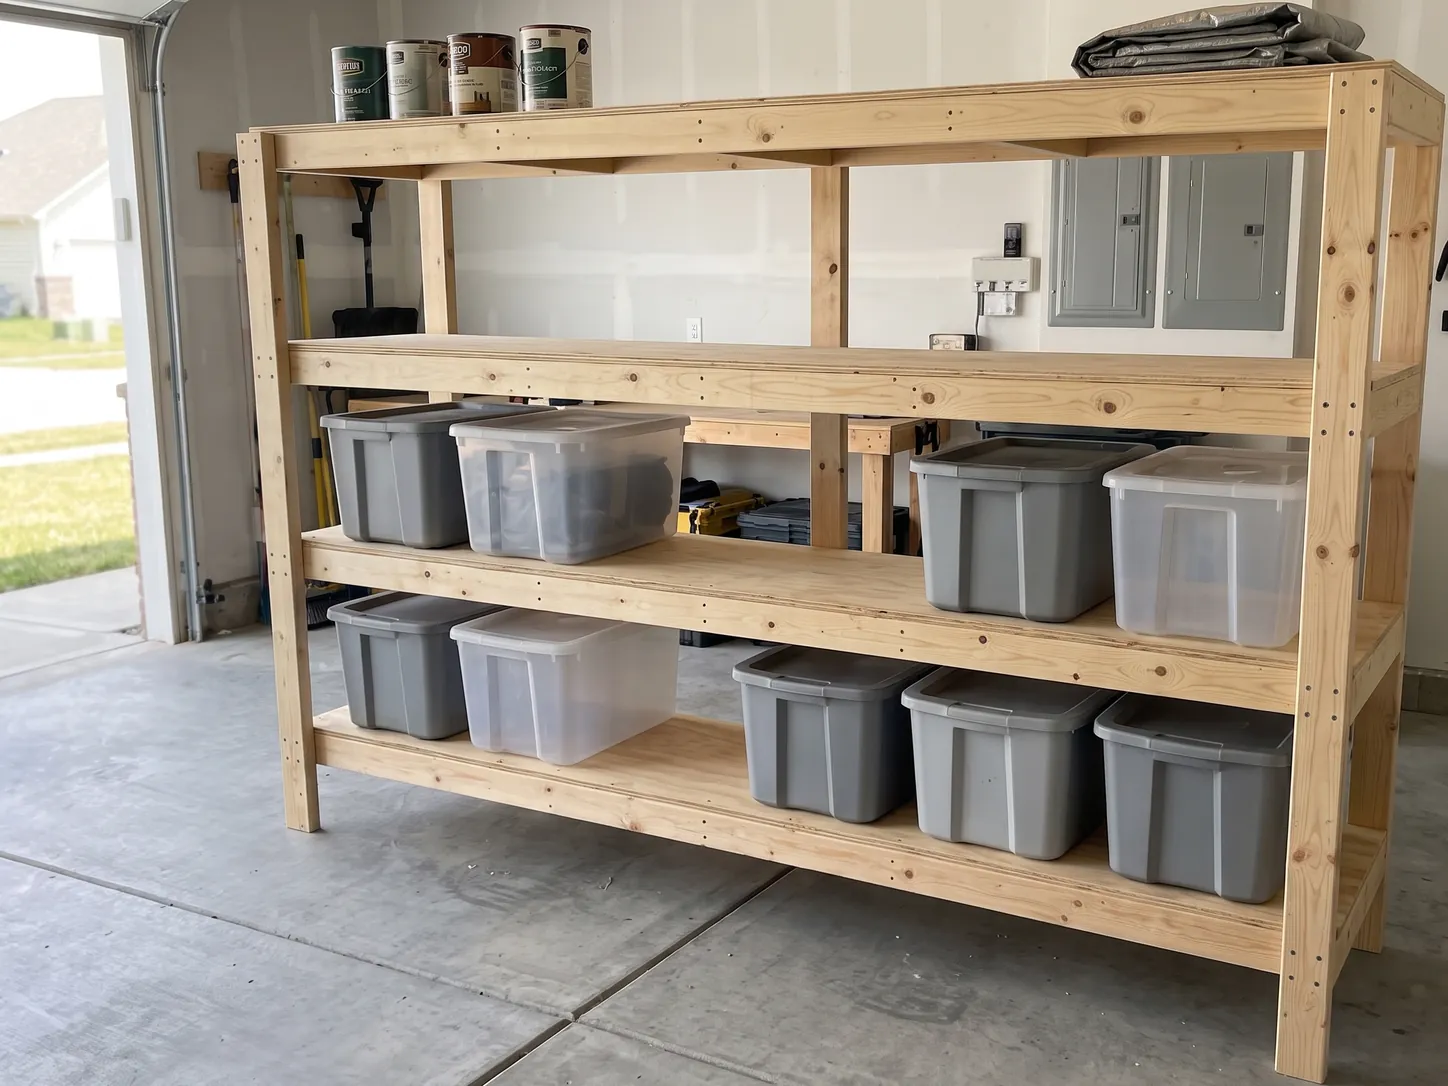
Freestanding 8 ft shelving from 2x4s and plywood. Four 24 in deep shelves, one afternoon with a helper.
- Finished size
- 96" W x 27" D x 72" H
- Metric
- 2438 mm x 686 mm x 1829 mm
- Material
- 3/4" plywood, two 4 x 8 ft sheets, plus 2x4 lumber
- Steps
- 12
- Build time
- 4-5 hours
- Skill
- Beginner
What you will build
A freestanding garage shelving unit 8 ft long and 6 ft tall, built from seventeen 8 ft 2x4s and two 4 x 8 ft sheets of 3/4 in plywood. It has four shelves, each 24 in deep with 17 in of clear height between them, so standard storage bins fit on every level. Each shelf is a 2x4 frame with a plywood deck, screwed between five 2x4 posts. The front has posts only at the two ends, so every shelf is open across its full length. Every cut is straight, there is no joinery and no glue, and the unit is anchored to the wall when it is done. A beginner with a circular saw and a drill can build it in an afternoon with a helper.
Cut list
Shelves: 3/4 in plywood, ripped from two 4 x 8 ft sheets. Every other part is a 2x4.
| Part | Name | Material | Qty | Length | Width |
|---|---|---|---|---|---|
| A | Shelf | 3/4" plywood | 4 | 96" (2438 mm) | 23-15/16" (608 mm) |
| B | Rail | 2x4 | 8 | 96" (2438 mm) | 3-1/2" (89 mm) |
| C | Cross support | 2x4 | 20 | 21" (533 mm) | 3-1/2" (89 mm) |
| D | Post | 2x4 | 5 | 72" (1829 mm) | 3-1/2" (89 mm) |
Tools
- Circular sawOr have the store cut the panel
- Drill / driver
- Countersink bit with 1/8" pilot drill
- Speed square
- Tape measure
- Bar clamps (4)
- 4 ft level
- Stud finderTo anchor the unit into wall studs
Materials
- 23/4" plywood sheet, 4 x 8 ft
- 172x4 x 8 ft boards, 96 in (not precut studs)
- 80#8 x 3" exterior wood screws (frame)
- 40#8 x 2-1/2" wood screws (posts)
- 104#8 x 1-5/8" wood screws (shelves)
- 1Furniture anti-tip kit (wall straps), 2 pack
- 1 packComposite shims (for a sloped floor)
Tool and material links are affiliate links. Disclosure.
Step-by-step instructions
The same steps as the interactive 3D guide, where each step is animated.
1The finished project
A freestanding shelving unit 96" long, 27" deep and 72" tall, with four plywood shelves.
- Read every step once before you cut anything.
- The unit is four identical shelf frames screwed between five posts: one at each front corner and three in back. The front is open between the corner posts, so nothing blocks the shelves.
- Each frame is two rails, five cross supports and a plywood shelf.
- You will need a helper for steps 9 to 11, when the unit is assembled, stood up and anchored.
This plan does not give a weight rating. It is designed for storage bins and household items. Keep heavy items on the bottom shelf and anchor the unit to the wall before you load it.
2Tools & materials
Gather everything before you start.
- Buy seventeen 2x4s 8 feet long. Ask for 8 foot boards: they are 96" long. Precut studs are 92-5/8" long and too short for the rails.
- Pick straight boards without twist and without large knots near the ends. Sight down each board before you buy it.
- Buy two full sheets of 3/4" plywood, 4 x 8 feet. Most home centers will rip them in half for you (step 3).
- Pick up the screws on the materials list. The three screw lengths are not interchangeable.
Wear eye and hearing protection when cutting and drilling.
A 4 x 8 ft sheet of plywood is heavy and catches the wind. Carry it with a helper.
3Cut the plywood
Rip each plywood sheet down the middle into two shelves.
- Each sheet makes two shelves A, 96" long. Mark the center of the cut 24" from one long edge, at both ends of the sheet, and snap or draw a straight line between the marks.
- Support the sheet on scrap 2x4s laid across the floor or sawhorses, so neither half drops at the end of the cut.
- Set the saw blade about 1/4" deeper than the plywood and rip along the line. Each shelf comes out 23-15/16" wide.
- Repeat with the second sheet. You now have four shelves. Label them A.
Most home centers will make this rip cut on their panel saw at no charge. Show them this diagram.
Each cut removes about 1/8" of wood (the saw kerf). The layout already allows for it.
4Cut the 2x4s
Cut the rails, cross supports and posts from the seventeen 8 ft boards.
- Rails B: eight boards stay full length, 96". Square both ends: trim a little off each end only if it is not square, and make all eight rails exactly the same length.
- Posts D and cross supports C: from each of five boards, cut one post 72" long and one cross support 21" long. That uses 93-1/8" of the board, kerf included.
- Cross supports C: from each of three more boards, cut four cross supports 21" long (84-3/8" with kerfs). From the last board, cut three. That makes twenty cross supports.
- Count the parts: 8 rails B, 20 cross supports C and 5 posts D. Label each one in pencil.
Measure every piece from the same end of the board and cut on the waste side of the line.
All twenty cross supports must be the same length, or the shelves will not be square. Cut one, check it, then use it to mark the others.
5Mark the frame screws
Mark and drill the screw holes in all eight rails.
- Lay the eight rails B side by side on the floor with their best face up, and clamp them together with the ends flush. Mark them all at once with the speed square.
- Draw a line across all rails at 3/4" from each end. That is the middle of the end cross supports.
- Draw three more lines, measured from the left end: 24-3/8", 48" and 71-5/8". Those are the middles of the other three cross supports.
- Unclamp. On each line of each rail, mark two screw centers: 1-1/4" from one edge and 1-1/4" from the other edge, so they are 1" apart.
- Drill a 1/8" pilot hole through the rail at each mark and countersink it. That is 10 holes per rail.
Drill straight and square to the face. A crooked screw can come out of the side of the cross support.
6Build the four frames
Screw five cross supports between two rails. Build four identical frames.
- On a flat floor, stand two rails B on edge, 24" apart outside to outside, with the countersunk holes facing out.
- Set the five cross supports C between them, lined up with the holes. The two end supports are flush with the ends of the rails.
- Clamp one end flush and drive two #8 x 3 in screws through the rail into the end of the cross support. Do the same on the other rail, then work along the frame: 20 screws per frame.
- Measure both diagonals of the frame. They must be equal. If they differ, push the long diagonal corners together until they match.
- Build the other three frames the same way.
Keep the top edges of the rails and cross supports flush: the shelf lands on them.
7Attach the shelves
Screw a plywood shelf on top of each frame.
- Lay a frame flat on the floor. Set shelf A on top, with one long edge and both ends flush with the frame. The shelf is 1/16" narrower than the frame, so the small step is at the back.
- Mark the screws on the shelf: 3/4" in from the front edge (the middle of the front rail), starting 6" from the left end and repeating every 12": 8 screws. Mark 8 more along the back rail, 11/16" from the back edge of the shelf.
- Mark 2 screws over each cross support, 7-1/2" and 16-1/2" from the front edge: 10 more. The cross support middles are 3/4", 24-3/8", 48", 71-5/8" and 95-1/4" from the left end.
- Drill a 1/8" pilot hole at each of the 26 marks, countersink it and drive a #8 x 1-5/8 in screw.
- Do the same on the other three frames.
A shelf that is flush on three sides squares the frame. Check the diagonals again before you drive the last screws.
8Mark the posts
Mark where each frame sits on the five posts, and drill the post screws.
- Lay the five posts D side by side with the bottom ends flush, and clamp them. Draw lines across all of them at 4", 25-1/4", 46-1/2" and 67-3/4" from the bottom end. Each line is the bottom edge of a frame.
- Corner posts (four of them): above each line, mark two screws 1" from the inside edge, at 1" and 2-1/2" above the line.
- Middle post (one, for the back): above each line, mark two screws 1-3/4" above the line, each 1/2" in from an edge.
- Drill a 1/8" pilot hole through the post at each mark and countersink it: 8 holes per post.
Mark every post from its bottom end. If the ends differ, the shelves will not be level.
The corner posts are mirror images: the screws sit 1" from the edge that faces the middle of the unit, away from the end cross support screws.
9Attach the front posts
Screw the two front corner posts to the four frames, with the unit lying on its back.
- Stand the four frames on edge on the floor, back rails down and shelves facing the same way, roughly in their final spacing.
- Lay the two front posts D across the front rails at the ends, countersunk holes up, bottom ends toward the bottom frame. Each post is flush with the ends of the rails.
- Line up the bottom edge of each frame with its line on the posts. Clamp, and drive two #8 x 2-1/2 in screws through each post into each rail: 16 screws.
- Check that the posts are square to the frames with the speed square before you drive the last screws on each post.
- The drawing shows the unit standing up so you can see where each post goes. Build it lying on its back.
Work with a helper: a frame with its shelf is heavy and can fall over while it stands on edge.
10Attach the back posts
Turn the unit over, screw on the three back posts, then stand it up.
- With a helper, roll the unit onto its front posts. The back rails are now on top.
- Lay the three back posts D on the back rails the same way: corner posts flush with the ends, the middle post centered, every frame on its line.
- Drive two #8 x 2-1/2 in screws through each post into each rail: 24 more screws.
- With your helper, stand the unit upright where it will live, with the back posts against the wall.
Lift with your legs and keep your back straight. Two people stand the unit up, one at each end.
11Level and anchor
Level the unit and anchor it to the wall before you put anything on it.
- Set the level on each shelf, along the length and front to back. Garage floors slope toward the door: slide shims under the low posts until every shelf is level, then snap off the extra shim.
- Find two wall studs behind the top back rail with the stud finder, one near each end of the unit, and mark them on the wall.
- Screw one bracket of the anti-tip kit to the back face of the top back rail, in line with each stud. Screw the other bracket into the stud, then join and tighten each strap as the kit instructions say.
- Push on the top front edge of the unit. It must not tip or rock.
Anchor the unit before you load it. A tall unit full of bins can tip over and crush someone, and children are most at risk.
Use the wall screws and anchors that the kit specifies for your wall. Drywall alone will not hold: the screw must go into a stud.
12Final check
Check the unit before you load it, and load it the safe way.
- Check every shelf with the level, and both anchor straps for tight screws.
- Load the bottom shelf first, with the heaviest items. Spread the weight across each shelf.
- Never climb on the shelves. Use a step ladder to reach the top shelf.
- Check the screws and straps after the first week, then once a year.
No weight rating: built for storage bins and household items.
2x4 Garage Shelving: frequently asked questions
What size is this 2x4 garage shelving unit?
The 2x4 garage shelving unit is 96 in long, 27 in deep and 72 in tall (2438 x 686 x 1829 mm). It has four plywood shelves, each 96 x 23-15/16 in, and 17 in of clear height between the top of one shelf and the frame of the shelf above. The bottom shelf frame sits 4 in off the floor.
How much lumber do I need to build 2x4 garage shelves?
You need seventeen 2x4s 8 ft long and two 4 x 8 ft sheets of 3/4 in plywood. The 2x4s become eight 96 in rails, twenty 21 in cross supports and five 72 in posts. Each plywood sheet is ripped down the middle into two shelves.
Can I use 2x4 studs for garage shelving?
Use 2x4s sold as 8 ft boards, which are 96 in long. Precut studs are usually 92-5/8 in long and are too short for the 96 in rails in this plan. Pick boards that are straight, without twist, and without large knots near the ends.
How much weight can 2x4 garage shelves hold?
This plan does not give a weight rating, because the load a shelf can carry depends on your lumber, your screws and how the unit is built and anchored. It is designed for storage bins and household items. Spread the weight across each shelf, keep heavy items on the bottom shelf, never climb on the unit, and anchor it to the wall before you load it.
Do garage shelves need to be anchored to the wall?
Yes. Anchor the unit to wall studs before you load it. The plan uses a furniture anti-tip kit with one strap near each end of the top back rail. The U.S. Consumer Product Safety Commission recommends anchoring furniture such as bookcases to the wall to prevent tip-overs (source: https://www.cpsc.gov/anchorit).
What tools do I need to build 2x4 garage shelving?
You need a circular saw (or have the store rip the plywood), a drill/driver, a countersink bit, a speed square, a tape measure, two bar clamps, a 4 ft level and a stud finder.
How long does it take to build a 2x4 garage shelving unit?
A beginner can build the 2x4 garage shelving unit in about 4 to 5 hours with a helper. Most of the time goes into cutting the 2x4s and driving the screws. The plan has 12 steps and needs no glue or finish.
Will storage bins fit on these garage shelves?
Each shelf is 23-15/16 in deep and has 17 in of clear height up to the frame of the shelf above, and the top shelf is open above. Measure your bins before you build: if they are taller than 17 in, you can move the shelf frames apart by marking the posts at other heights.
Get the next plan
We let you know when a new plan is published.
More plans
2x4 Workbench
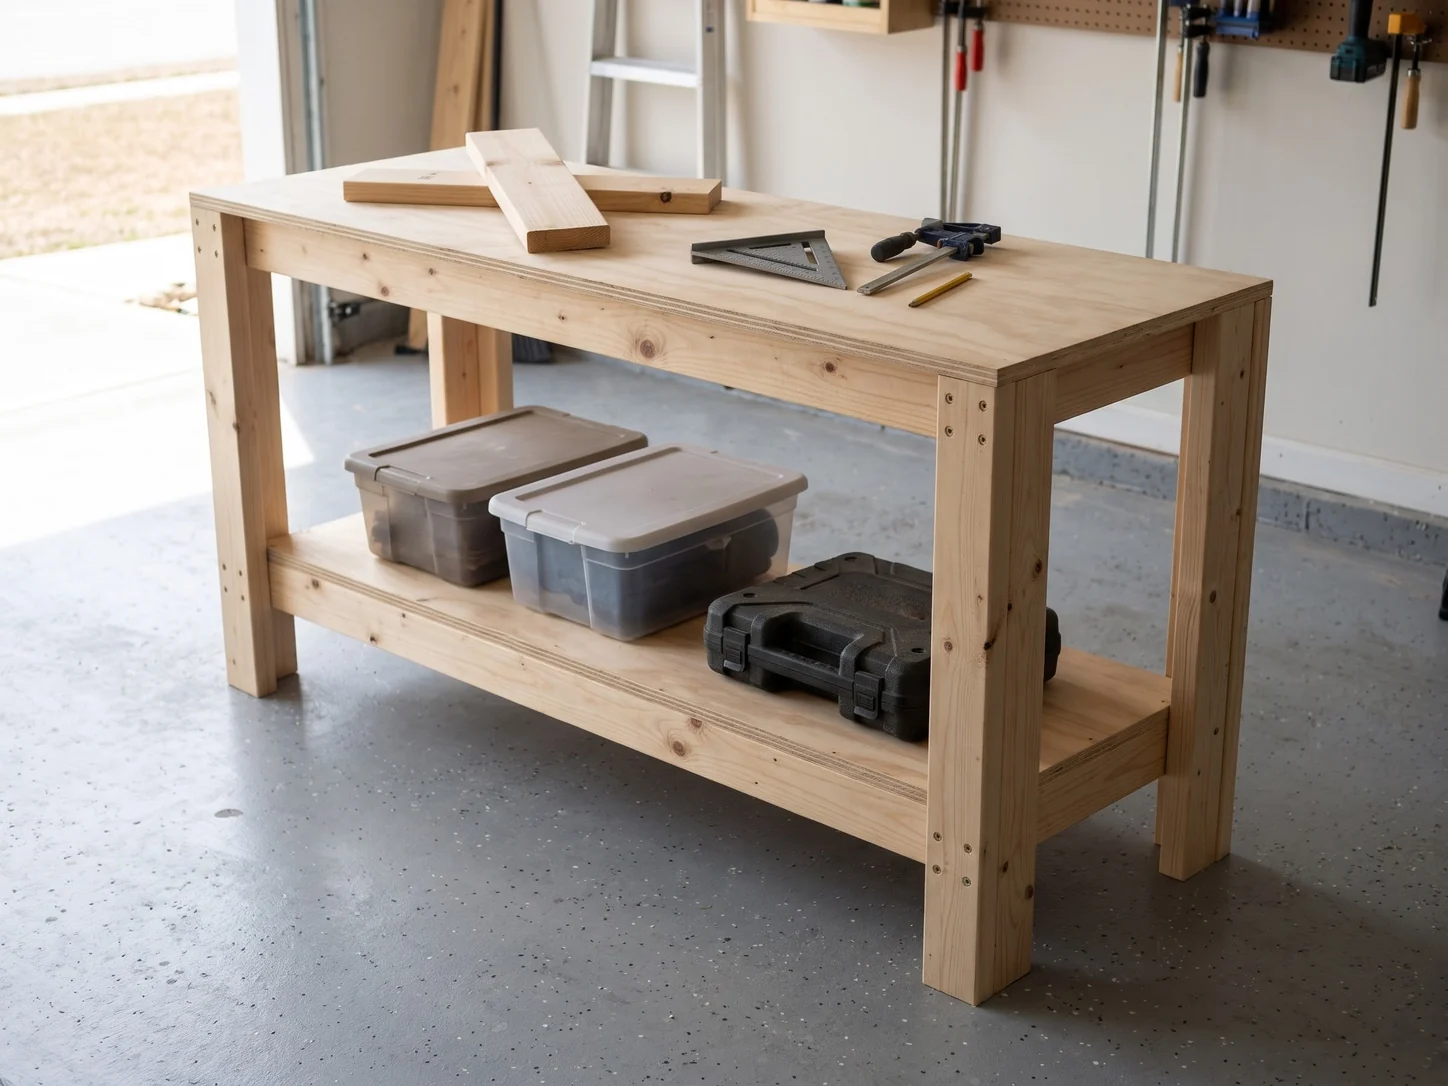
A 6 ft workbench with a lower shelf, from eight 2x4s and one sheet of plywood. Straight cuts and screws, one day.
View planGarage & workshopMiter Saw Station
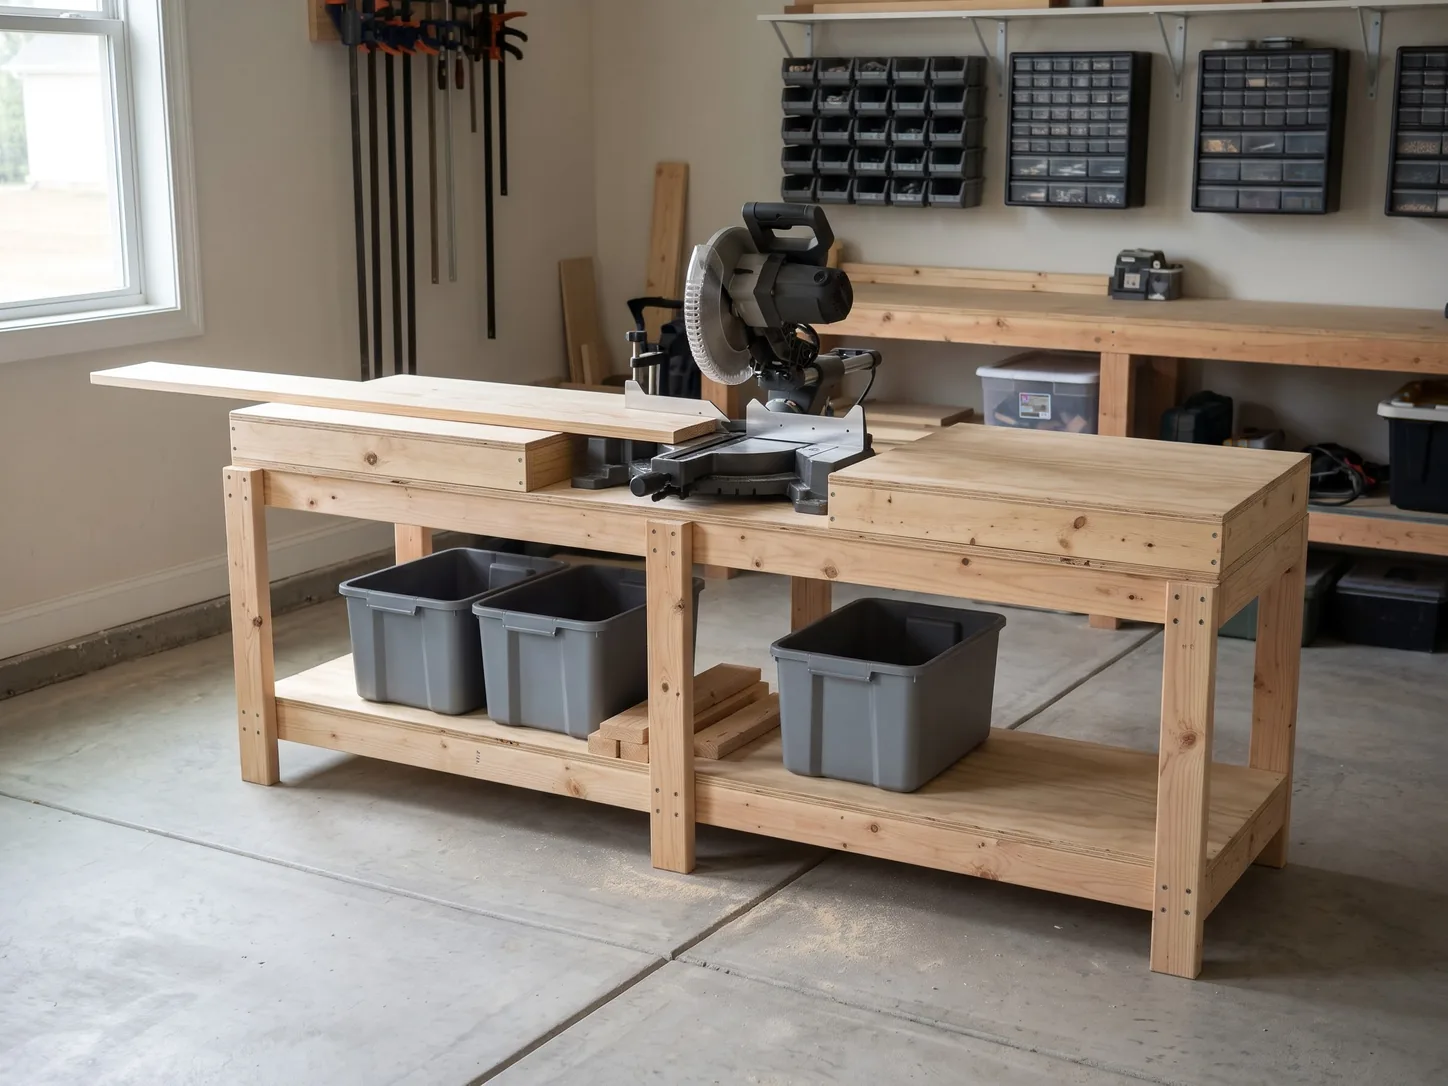
A flat, saw-level work surface 8 ft long, with wings on both sides and a shelf below. One weekend with a helper.
View planOutdoor & gardenRaised Garden Bed
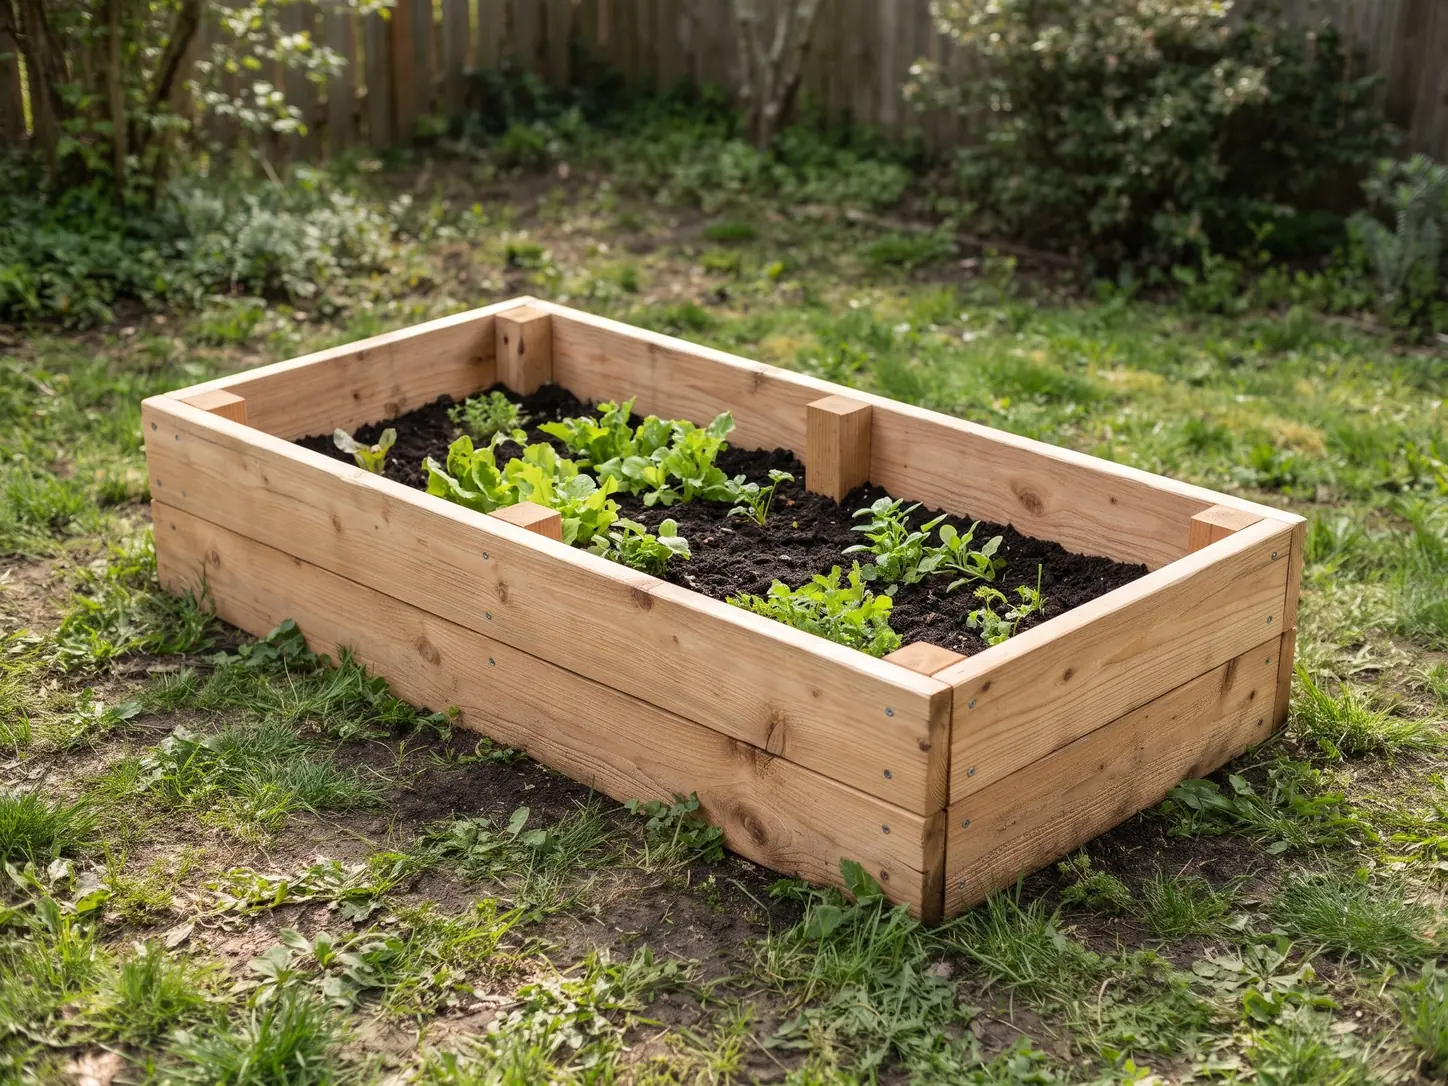
A 4 x 8 ft cedar bed, 11 in deep, from six 2x6 boards and one 4x4 post. Straight cuts and 40 screws, one afternoon.
View plan