Garage & workshop · 12 steps
2x4 Workbench
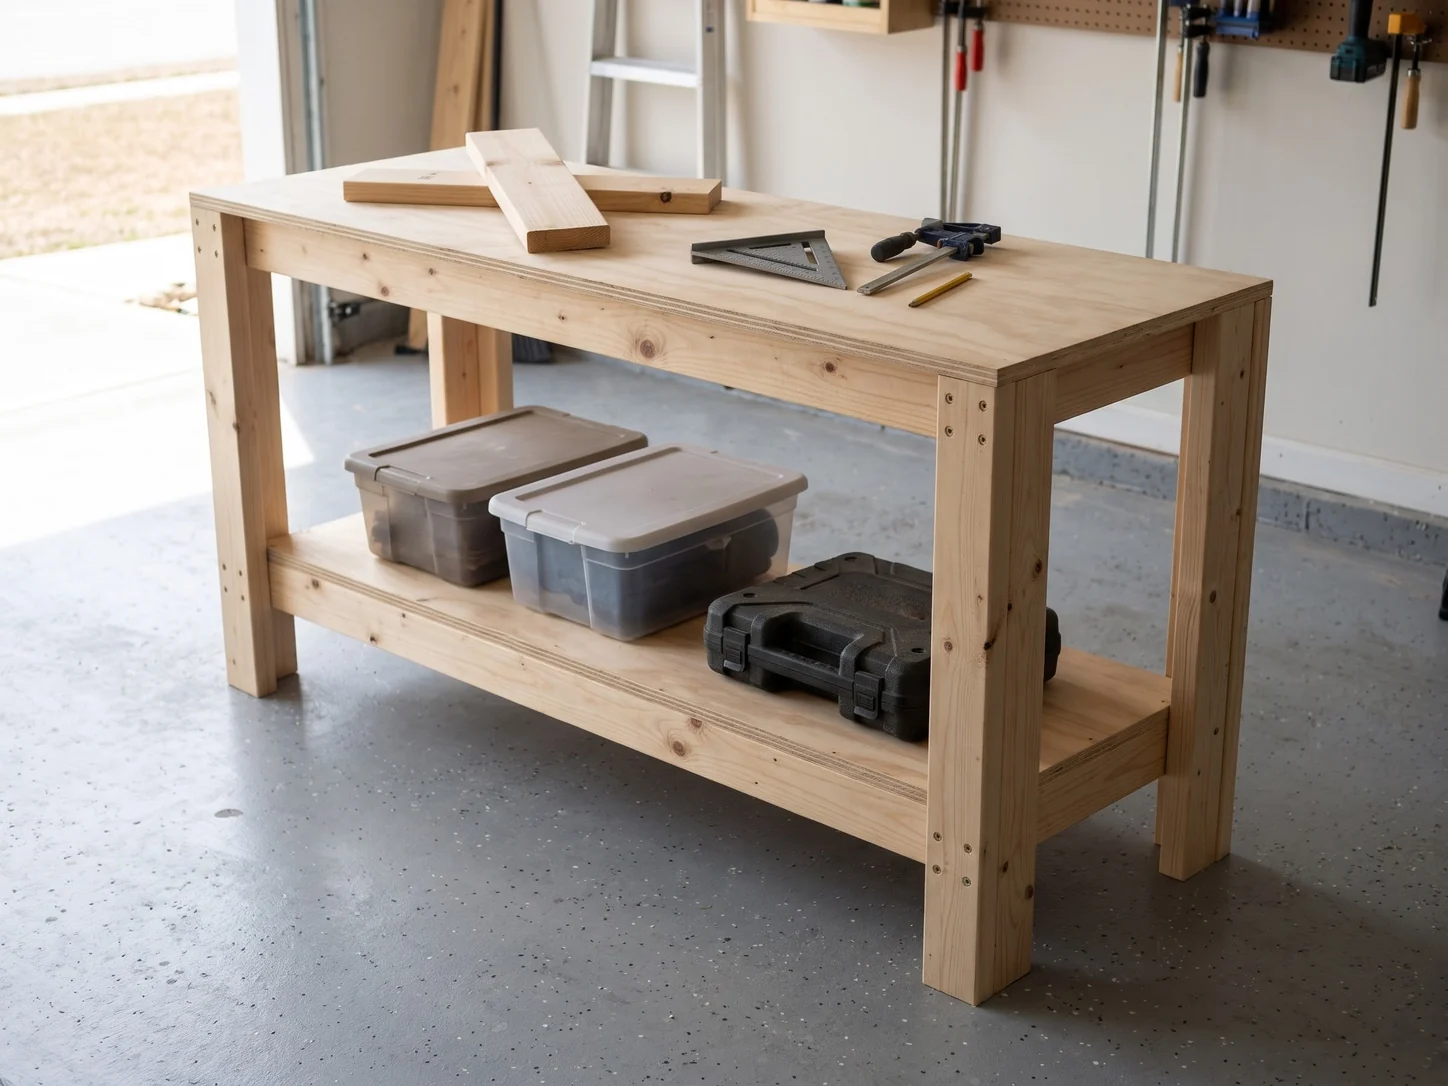
A 6 ft workbench with a lower shelf, from eight 2x4s and one sheet of plywood. Straight cuts and screws, one day.
- Finished size
- 72" W x 24" D x 36" H
- Metric
- 1829 mm x 610 mm x 914 mm
- Material
- 3/4" plywood, one 4 x 8 ft sheet, plus 2x4 lumber
- Steps
- 12
- Build time
- 1 day
- Skill
- Beginner
What you will build
A 6 ft workbench, 72 in long, 24 in deep and 36 in tall, built from eight 8 ft 2x4s and one 4 x 8 ft sheet of 3/4 in plywood. The plywood top covers a 2x4 frame and the tops of four L-shaped corner legs, and a plywood shelf on a second, identical frame sits 6 in off the floor, with 21-1/2 in of clear height up to the top frame. Each leg is two 2x4s screwed together, so it wraps the corner of both frames. Every cut is straight, there is no joinery and no glue, and 124 screws in three lengths hold it together. A beginner with a circular saw and a drill can build it in about a day, for everyday shop work like assembly, sanding and small projects.
Cut list
Top and shelf: 3/4 in plywood from one 4 x 8 ft sheet. Every other part is a 2x4.
| Part | Name | Material | Qty | Length | Width |
|---|---|---|---|---|---|
| A | Top | 3/4" plywood | 1 | 72" (1829 mm) | 24" (610 mm) |
| B | Shelf | 3/4" plywood | 1 | 69" (1753 mm) | 21" (533 mm) |
| C | Rail | 2x4 | 4 | 69" (1753 mm) | 3-1/2" (89 mm) |
| D | Cross support | 2x4 | 8 | 18" (457 mm) | 3-1/2" (89 mm) |
| E | Leg | 2x4 | 8 | 35-1/4" (895 mm) | 3-1/2" (89 mm) |
Tools
- Circular sawOr have the store cut the panel
- Drill / driver
- Countersink bit with 1/8" pilot drill
- 3/16" drill bit
- 7/64" drill bit, 6 in long
- Speed square
- Tape measure
- Bar clamps (4)
- Sawhorses (pair)
- Random orbit sander
Materials
- 13/4" plywood sheet, 4 x 8 ft
- 82x4 x 8 ft boards, 96 in (not precut studs)
- 32#8 x 3" exterior wood screws (frame)
- 44#8 x 2-1/2" wood screws (legs)
- 48#8 x 1-5/8" wood screws (top and shelf)
- 1 setSandpaper 120 / 180 grit
- 1Wipe-on polyurethane (or stain + poly)
Tool and material links are affiliate links. Disclosure.
Step-by-step instructions
The same steps as the interactive 3D guide, where each step is animated.
1The finished project
A workbench 72" long, 24" deep and 36" tall, with a plywood top and a lower shelf.
- Read every step once before you cut anything.
- The bench is two identical 2x4 frames, one under the top and one under the shelf, held by four corner legs. Each leg is two 2x4s screwed together in an L, so it wraps the corner of both frames.
- The top A is 72" x 24" and covers the top frame and the leg tops. The shelf B is 69" x 21" and sits on the lower frame, which is 6" off the floor so you can mop under it.
- You will need a helper in steps 8 to 10, when the bench is rolled over and stood up.
This plan does not give a weight rating. It is built for everyday shop work: assembly, sanding and small projects, with tools and bins on the shelf.
2Tools & materials
Gather everything before you start.
- Buy eight 2x4s sold as 8 foot boards, 96" long. This plan uses that length for its cutting plan.
- Pick straight boards without twist and without large knots near the ends. Sight down each board before you buy it.
- Buy one sheet of 3/4" plywood, 4 x 8 feet. It gives the top and the shelf. Most home centers will make the long rip cut for you (step 3).
- Pick up the screws on the materials list: 32 #8 x 3 in, 44 #8 x 2-1/2 in and 48 #8 x 1-5/8 in. The three lengths are not interchangeable.
Wear eye and hearing protection when cutting and drilling.
A 4 x 8 ft sheet of plywood is heavy and catches the wind. Carry it with a helper.
3Cut the plywood
Cut the top and the shelf from one sheet.
- Mark 24" from one long factory edge at both ends of the sheet and draw a straight line between the marks. Rip on the waste side of the line, so the first half stays a full 24" wide.
- Top A: crosscut the first half to 72" long. Its factory edges become the front and one end of the top.
- Shelf B: rip the second half to 21" wide, then crosscut it to 69" long.
- Support the sheet on sawhorses with scrap 2x4s across them, so no piece drops at the end of a cut. Label both parts.
Most home centers will make the rip cut on their panel saw. Show them this diagram.
Each cut removes about 1/8" of wood (the saw kerf). The layout already allows for it.
4Cut the 2x4s
Cut the rails, cross supports and legs from the eight 8 ft boards.
- Rails C and cross supports D: from each of four boards, cut one rail 69" long and one cross support 18" long. That uses 87-1/8" of the board, kerf included.
- Legs E and cross supports D: from each of the other four boards, cut two legs 35-1/4" long and one cross support 18" long (88-3/4" with kerfs).
- Count the parts: 4 rails C, 8 cross supports D and 8 legs E. Label each one in pencil.
- Pencil BOTTOM on one end of each leg. Every leg mark in step 7 is measured from that end or from the top end.
Measure every piece from the same end of the board and cut on the waste side of the line.
All eight cross supports must be the same length, and all eight legs too, or the bench will rock. Cut one, check it, then use it to mark the others.
5Build the top frame
Drill the four rails, then screw four cross supports between two of them. Check the diagonals.
- Clamp the four rails C side by side, best face up and ends flush, and mark them all at once with the speed square.
- Draw lines across all four at 3/4" and at 23-1/4" from each end: the middles of the four cross supports.
- On each line, mark two screw centers 3/4" from each long edge, 2" apart. Drill a 3/16" clearance hole through the rail at each mark and countersink it: 8 holes per rail.
- Stand two rails on edge on a flat floor, countersunk holes out, and set four cross supports D between them, the end ones flush with the rail ends. The frame is 21" wide outside to outside.
- Through each hole, drill a 7/64" pilot about 1-1/2" into the end of the cross support with the long bit, then drive two #8 x 3 in screws at each end of every cross support: 16 screws, every head flush. At the end cross supports the leg face piece will cover these heads. Both diagonals must be 72-1/8". If not, push the corners of the long diagonal together until they match.
Sink every screw head flush with the rail face, never proud: at the end cross supports the leg face piece covers these heads and must sit flat on the rail. Keep the top edges flush.
6Build the shelf frame
Build the second frame the same way, then screw the shelf on top of it.
- Build the shelf frame exactly like the top frame: two rails C, four cross supports D, 16 #8 x 3 in screws, diagonals 72-1/8".
- Stack the two frames: length and width must match within 1/16", or the legs will not sit flat on both: trim or sand the larger one.
- Lay the shelf frame flat and set shelf B on top, flush on all four edges: both are 69" x 21". If it is not exact, fasten B flush or slightly shy of the frame edges, never proud.
- Mark 6 screws along the front edge and 6 along the back edge, 3/4" in from the edge (the middle of the rail), at 4-1/2" from the left end and then every 12".
- Mark three screws over each cross support, at 5-1/2", 10-1/2" and 15-1/2" from the front edge, on lines 3/4" and 23-1/4" from each end: 12 more.
- Drill a 1/8" pilot hole at each of the 24 marks, countersink it and drive a #8 x 1-5/8 in screw.
Fit the shelf now: once the legs wrap the corners, it cannot go in. A shelf flush on all four edges also squares the frame.
7Build the four legs
Drill the eight leg pieces, then screw them together in pairs into four L-shaped legs.
- Pencil FACE on four leg pieces E and SIDE on the other four. Lay the face pieces outside face up, BOTTOM ends toward you. On two of them the left edge is the outer edge, on the other two the right edge (mirror images).
- On each face piece, mark five screws 3/4" from the outer edge, at 3" from the BOTTOM end and then every 7-1/2". Mark four more 3" from the outer edge: at 1-1/4" and 2-1/4" from the top end, and at 7-1/4" and 8-1/4" from the BOTTOM end.
- Drill a 3/16" clearance hole through each mark and countersink it on the outside face: 9 holes per face piece. The screw turns freely in it and pulls the leg tight.
- Stand a side piece on edge, lay a face piece on it with the outer edge and the BOTTOM ends flush, clamp, then through each hole of the outer-edge row drill a 7/64" pilot about 1" into the side piece with the long bit and drive a #8 x 2-1/2 in screw: 5 per leg.
- On the outside face of each side piece, mark two screws 2-1/2" from the face piece: 1-3/4" from the top end and 7-3/4" from the BOTTOM end. Drill 3/16" clearance holes and countersink them the same way.
Mark every hole from the end named in the step, or the holes miss the frames.
8Attach the front legs
Lay both frames on their back rails with spacers between them, then screw on the two front legs.
- Cut two spacers 21-1/2" long and about 3" wide from the plywood offcut: the clear gap between the shelf and the top frame.
- Lay both frames on a flat floor on their back rails, front rails up, the shelf facing the top frame. Stand a spacer between the shelf and the top front rail near each end, then line up the frame ends. The drawing shows the bench standing up.
- Set the front-left leg over the corner from outside: face piece on the front rails, side piece against the frame ends, top end flush with the edge the top sits on. The holes 7-1/4" and 8-1/4" from the BOTTOM end must land on the shelf frame rail. Clamp it, then set the front-right leg the same way.
- At each hole, drill a 7/64" pilot with the long bit, through the clearance hole in the leg and about 1" into the rail, then drive a #8 x 2-1/2 in screw.
- Per leg, drive the screw 1-1/4" from the top end, check with the speed square that the leg is square to the frame, then drive the one 2-1/4" from the top end and the one 8-1/4" from the BOTTOM end: 6 screws.
Work with a helper: the frames and legs are loose until the first screws are in. Leave the side piece screws for step 10.
9Attach the back legs
Roll the bench onto its front legs and screw on the two back legs the same way.
- With your helper, roll the bench forward onto the front legs, so the back rails face up. Stand the spacers between the shelf and the top back rail near each end.
- Set the back legs over the back corners from outside: face piece on the back rails, side piece against the frame ends, top end flush with the edge the top sits on. Clamp them.
- Drill each 7/64" pilot with the long bit, through the hole in the leg and about 1" into the rail, then drive the screws as in step 8: 1-1/4" from the top end, square the leg, then 2-1/4" from the top end and 8-1/4" from the BOTTOM end: 6 screws.
Roll the bench with a helper, one person at each end. Lift with your legs and keep your back straight.
10Square the bench
Stand the bench up, check the diagonals, then drive the last 12 screws.
- With your helper, stand the bench on its legs on a flat floor and take out the spacers.
- Front and back: measure from the outer corner at the top end of one leg to the outer corner at the BOTTOM end of the other leg on the same side, then the other way. Both are about 80-3/16".
- Ends: measure the same way across each end, from a front leg to the back leg. Both are about 42-5/8". Each pair must match: if not, push the corners of the long diagonal together.
- Drill each 7/64" pilot with the long bit, through the hole in the leg and about 1" into the rail or cross support, then drive the final screws: the face piece screw 7-1/4" from the BOTTOM end (4 screws), and the side piece screws 1-3/4" from the top end and 7-3/4" from the BOTTOM end (8 screws).
Stand the bench up with a helper, one person at each end. Lift with your legs and keep your back straight.
11Add the top
Screw the plywood top to the top frame.
- Set top A on the bench, flush on all four sides with the outside faces of the legs. It covers the leg tops and reaches 1-1/2" past the frame all around.
- Mark the screws: along the front and the back edge, 2-1/4" in from the edge (the middle of the rail), at 6" from the left end and then every 12": 6 per edge.
- Mark three screws over each cross support, on lines 2-1/4" and 24-3/4" from each end: 7" from the front edge, 7" from the back edge and one in the middle, 5" from each: 12 more.
- Drill a 1/8" pilot hole at each of the 24 marks, countersink it so the head sits just below the surface, and drive a #8 x 1-5/8 in screw.
Keep the screw heads below the surface, or they will scratch your work.
12Sand and finish
Sand the edges smooth. A finish is optional.
- Sand the edges and corners of the top and the shelf with 120 grit, then 180 grit, and ease every sharp corner, legs included.
- Optional: wipe two or three thin coats of polyurethane on the top and the shelf, as the can says. Let it dry fully.
- Check the screws after the first weeks of use and tighten any loose ones.
Never stand or climb on the bench. No weight rating: built for everyday shop work.
2x4 Workbench: frequently asked questions
What size is this 2x4 workbench?
The 2x4 Workbench is 72 in long, 24 in deep and 36 in tall (1829 x 610 x 914 mm). The plywood top is 72 x 24 in, and the lower shelf is 69 x 21 in (1753 x 533 mm) on a frame 6 in (152 mm) off the floor, with 21-1/2 in (546 mm) of clear height up to the top frame.
How many 2x4s do I need to build a workbench?
You need eight 2x4s 8 ft long to build the 2x4 Workbench. They become four 69 in rails, eight 18 in cross supports and eight 35-1/4 in leg pieces: four boards each give one rail and one cross support, and four boards each give two leg pieces and one cross support.
How much plywood do I need for a 2x4 workbench?
You need one 4 x 8 ft sheet of 3/4 in plywood for the 2x4 Workbench. Ripped down the middle, one half gives the 72 x 24 in top and the other half gives the 69 x 21 in shelf, with the saw kerf allowed for.
How tall is this 2x4 workbench?
The 2x4 Workbench is 36 in (914 mm) tall to the top of the plywood. The legs are 35-1/4 in long and the top adds 3/4 in. The plan is drawn at this one height: a different height changes the leg length in the cut list and the leg drawings.
What tools do I need to build a 2x4 workbench?
You need a circular saw, a drill/driver with a countersink bit (1/8 in pilot drill), a 3/16 in drill bit for clearance holes, a 6 in long 7/64 in drill bit for the deep pilots, a speed square, a tape measure, bar clamps and two sawhorses to build the 2x4 Workbench. A random orbit sander is for the last step. Most home centers will also rip the plywood sheet for you.
How long does it take to build a 2x4 workbench?
A beginner can build the 2x4 Workbench in about one day. The plan has 12 steps, 22 parts and 124 screws, and most of the time goes into cutting the 2x4s and drilling the pilot holes. A finish is optional and adds drying time.
Can I make this workbench longer?
The 2x4 Workbench plan is drawn at 72 in long only. The rail length, the cross support spacing, every screw position and the plywood layout come from that length, so a longer bench changes the cut list and the drawings and is not covered by this plan.
Does a workbench need to be anchored to the wall?
This plan does not call for anchoring the 2x4 Workbench to the wall: it is a 36 in tall bench on four corner legs, not a tall unit like a bookcase or shelving. Never stand or climb on the bench, and store the heaviest tools and bins low, on the shelf.
Get the next plan
We let you know when a new plan is published.
More plans
2x4 Garage Shelving
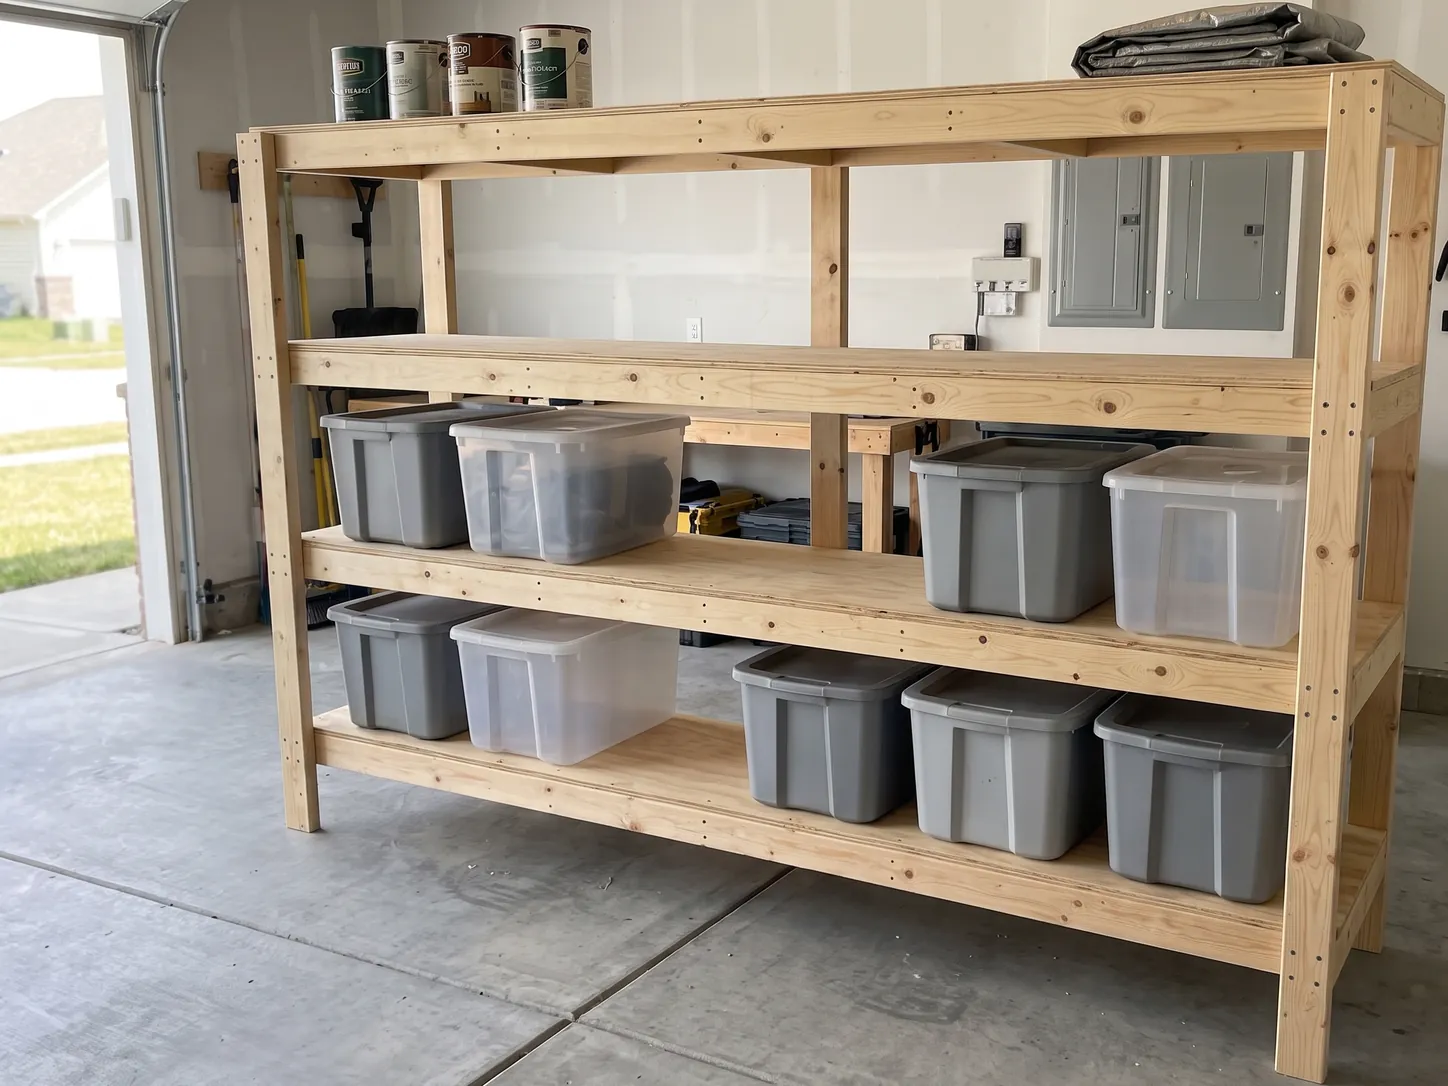
Freestanding 8 ft shelving from 2x4s and plywood. Four 24 in deep shelves, one afternoon with a helper.
View planGarage & workshopMiter Saw Station
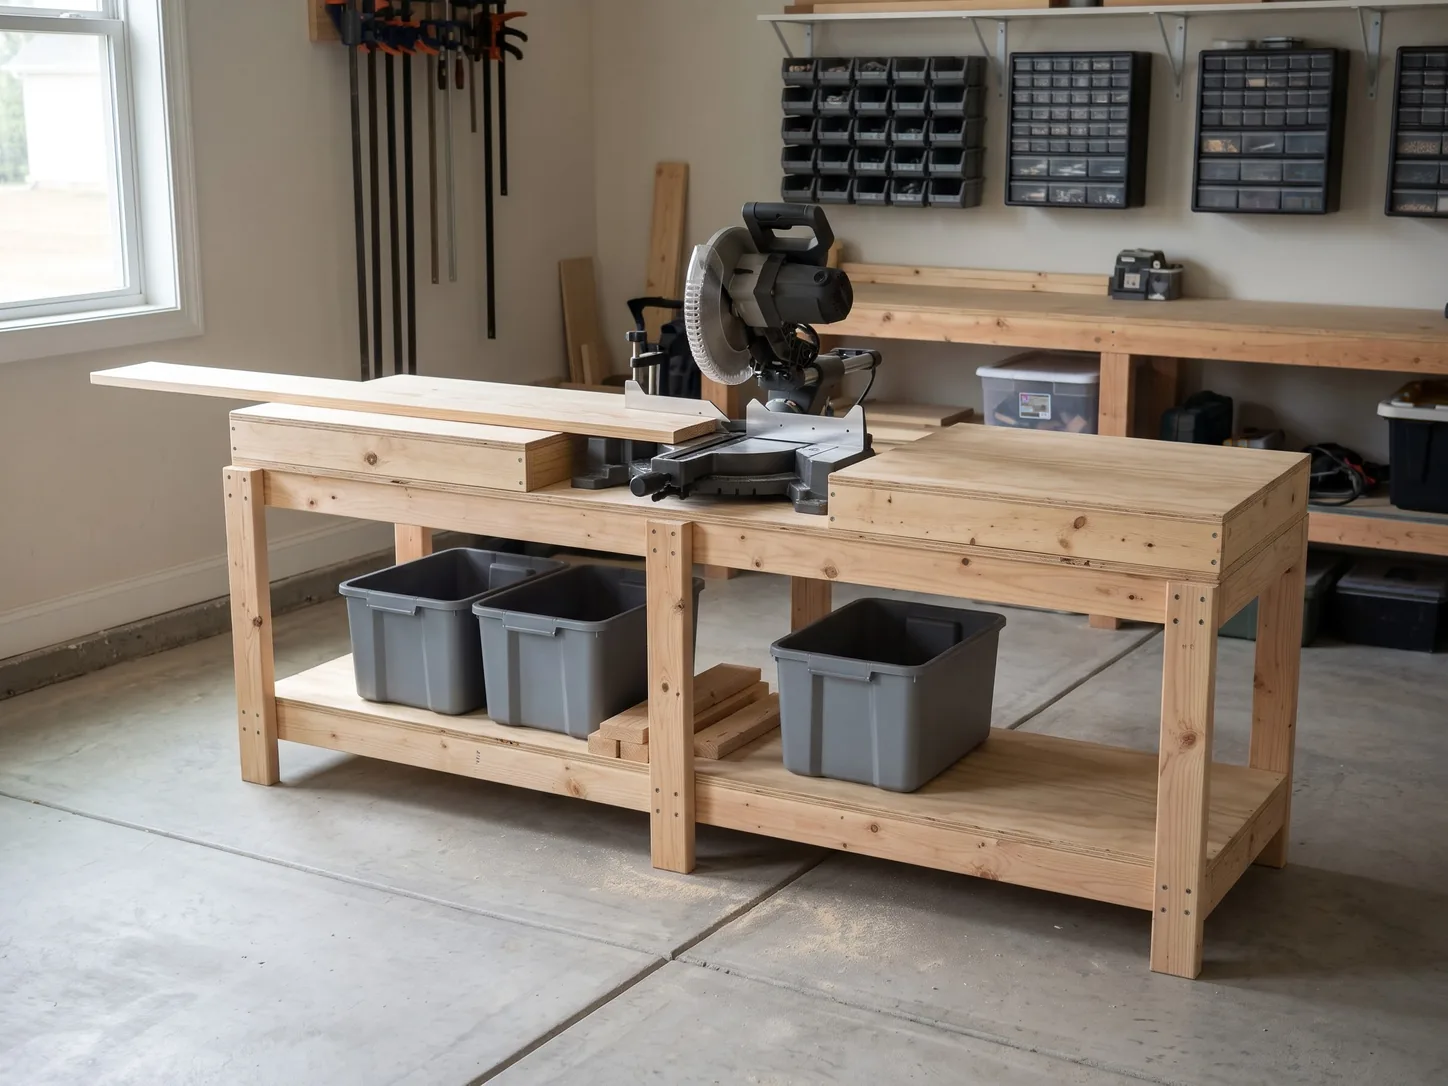
A flat, saw-level work surface 8 ft long, with wings on both sides and a shelf below. One weekend with a helper.
View planOutdoor & gardenRaised Garden Bed
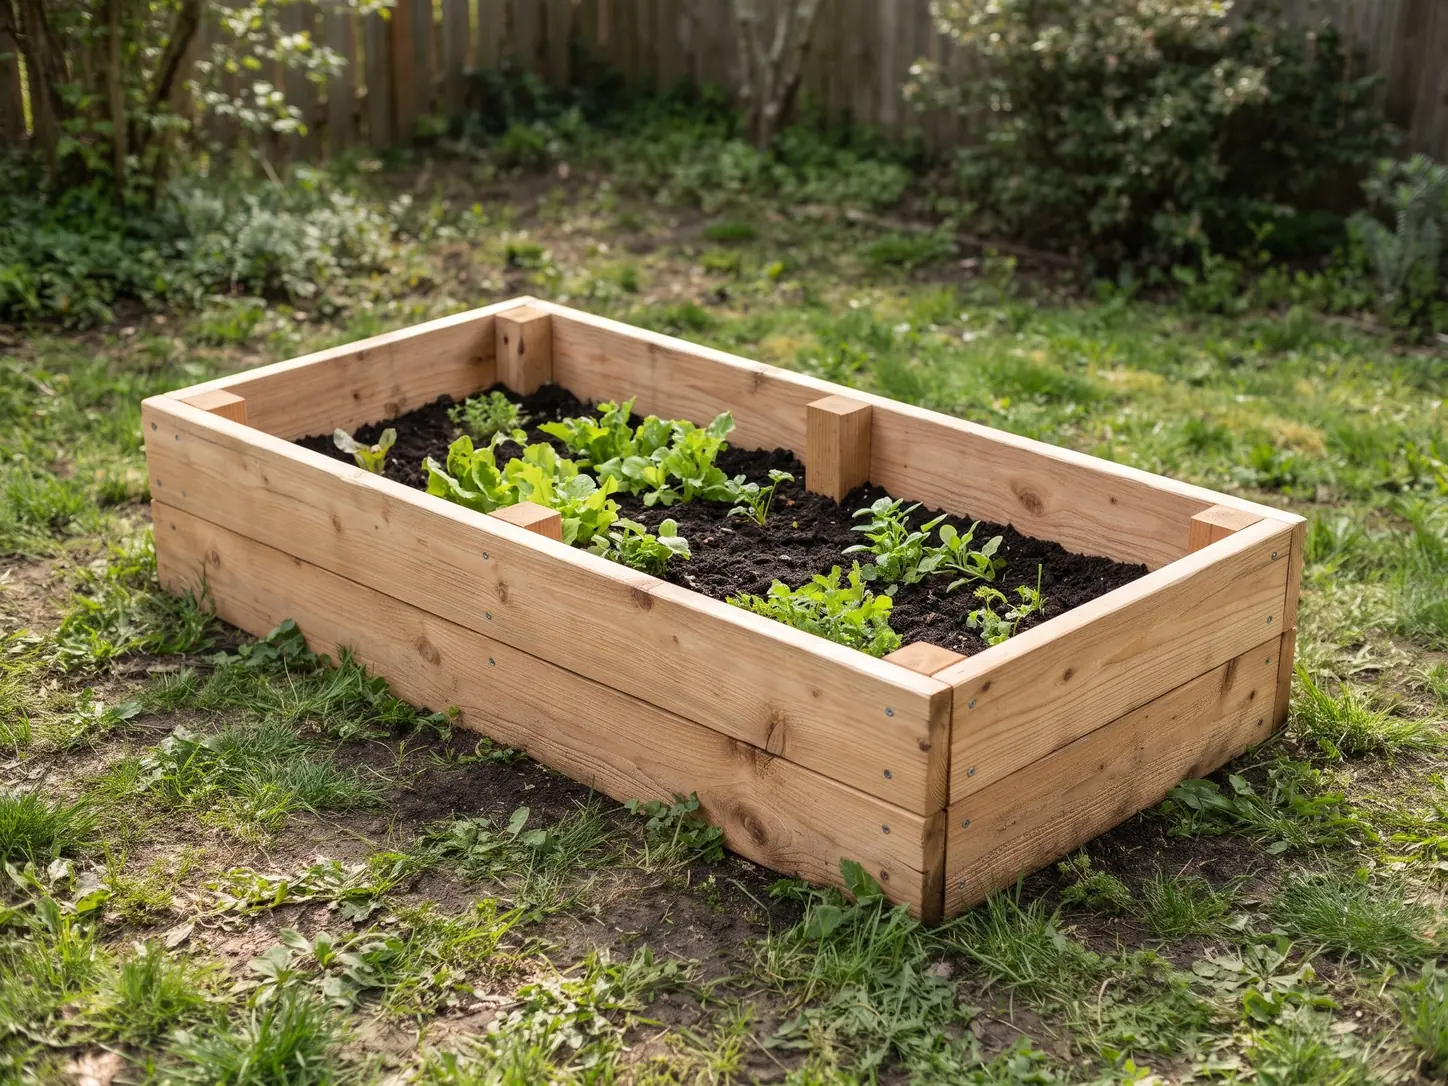
A 4 x 8 ft cedar bed, 11 in deep, from six 2x6 boards and one 4x4 post. Straight cuts and 40 screws, one afternoon.
View plan