Kitchen & dining · 15 steps
Farmhouse Dining Table
A 6 ft table that seats six, from 2x6, 2x4 and 4x4 lumber. Straight cuts, pocket screws, a top that can move.
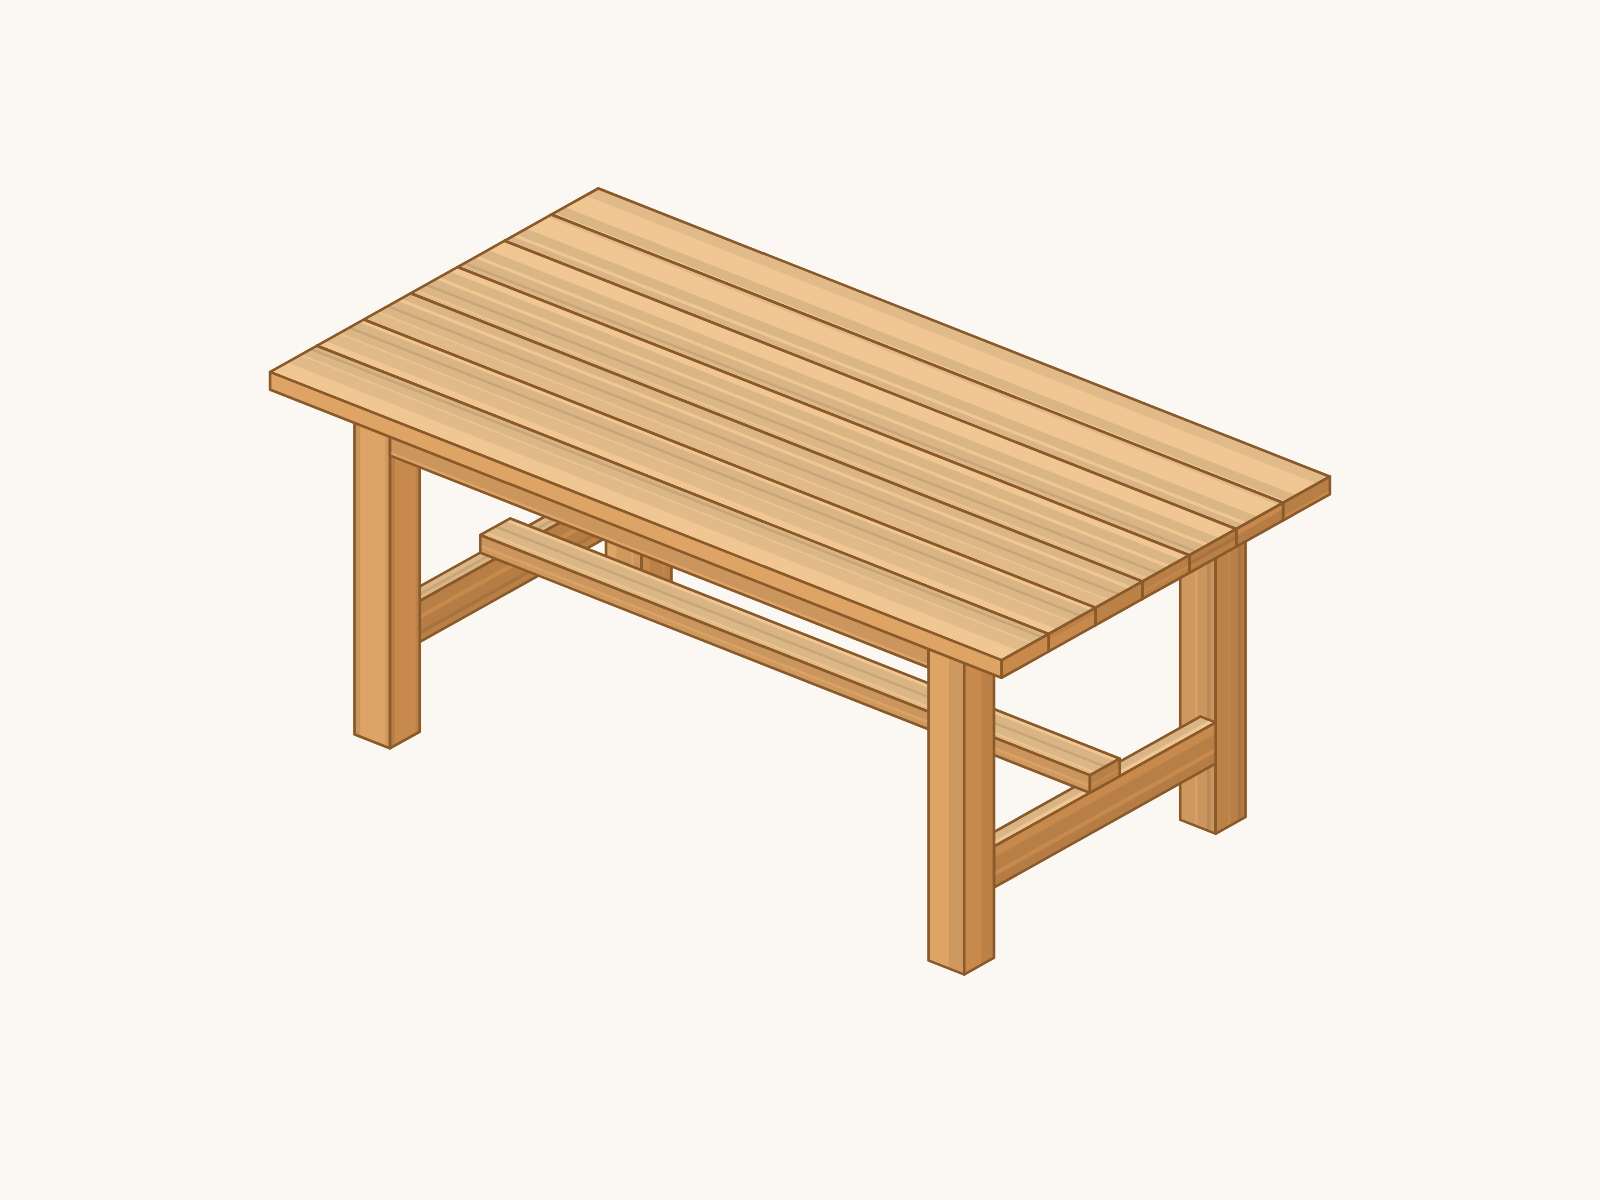
- Finished size
- 72" W x 38-1/2" D x 30" H
- Metric
- 1829 mm x 978 mm x 762 mm
- Material
- 2x6, 2x4, 4x4 and 2x2 boards, 8 ft long
- Steps
- 15
- Build time
- 2 days
- Skill
- Intermediate
What you will build
A 6 ft farmhouse dining table, 72 in long, 38-1/2 in wide and 30 in tall, with room for six chairs: two on each long side and one at each end. The top is seven 2x6 boards 72 in long, joined edge to edge with glue and pocket screws. It sits on a base of four 4x4 legs, 2x4 aprons and an H of 2x4 stretchers near the floor, and overhangs the base by 6 in at each end and 2-3/4 in at the front and back. There is 25 in of clear height from the floor to the bottom of the aprons. A solid-wood top swells and shrinks across its width with the seasons, toward and away from the long aprons, so it is never glued down: along the long aprons it is held by screws in slotted holes in two 2x2 cleats, and on the end aprons by four figure-eight fasteners that swing as it moves. Every cut is straight, and the whole table comes from seven 2x6, four 2x4, two 4x4 and one 2x2 board, all 8 ft long. You need a circular saw, a drill and a pocket-hole jig, and about two days, glue drying included.
Cut list
Every part is lumber: 2x6 (1-1/2 x 5-1/2 in), 2x4 (1-1/2 x 3-1/2 in), 4x4 (3-1/2 x 3-1/2 in) and 2x2 (1-1/2 x 1-1/2 in).
| Part | Name | Material | Qty | Length | Width |
|---|---|---|---|---|---|
| A | Top board | 2x6 | 7 | 72" (1829 mm) | 5-1/2" (140 mm) |
| B | Leg | 4x4 | 4 | 28-1/2" (724 mm) | 3-1/2" (89 mm) |
| C | Long apron | 2x4 | 2 | 53" (1346 mm) | 3-1/2" (89 mm) |
| D | End apron | 2x4 | 2 | 26" (660 mm) | 3-1/2" (89 mm) |
| E | End stretcher | 2x4 | 2 | 26" (660 mm) | 3-1/2" (89 mm) |
| F | Center stretcher | 2x4 | 1 | 60" (1524 mm) | 3-1/2" (89 mm) |
| G | Slotted cleat | 2x2 | 2 | 46" (1168 mm) | 1-1/2" (38 mm) |
Tools
- Circular sawOr have the store cut the boards to length
- Speed square
- Tape measure
- Drill / driver
- Pocket-hole jigThe tool that makes beginner furniture easy
- Pocket-hole face clamp, 6" reachReaches the seams 5-1/2 in in from a board edge and holds them flush
- Bar clamps (4)
- Bar clamps, 36" (2)Spans a 33 in end frame
- 3/16" drill bit
- Countersink bit with 1/8" pilot drill
- 7/64" drill bit, 6 in long
- 6" bit holder (extension)Reaches screws beside an apron or in a pocket hole
- Right-angle drill attachmentDrives screws where the drill is too long to fit
- 3/4" Forstner bitUse the size printed on your figure-eight fastener pack
- Sawhorses (pair)
- Moving blanketProtects the tabletop when it lies face down
- Random orbit sander
- Pin moisture meter (optional)
Materials
- 72x6 x 8 ft boards, 96 in, straight and kiln-dried
- 42x4 x 8 ft boards, 96 in (not precut studs)
- 24x4 x 8 ft post, untreated, stamped KD-19 or S-DRY if you can find it (legs)
- 12x2 x 8 ft boards, 96 in, straight (cleats)
- 662-1/2" coarse-thread pocket screws (66 needed, a box of 100 is fine)
- 4#8 x 3" wood screws (center stretcher; 4 needed)
- 10#8 x 2-1/2" flat-head wood screws (cleats; 10 needed)
- 8#8 x 2-1/2" pan-head wood screws (slotted cleats; 8 needed)
- 8#8 flat washers (slotted cleats; 8 needed)
- 4Figure-eight tabletop fasteners (4 needed, a pack of 8 or more is fine)
- 8#8 x 5/8" flat-head wood screws (figure-eight fasteners; 8 needed)
- 1Wood glue
- 1Masking tape, 1 roll (depth-stop flag on the drill bit)
- 1 setSandpaper 120 / 180 / 220 grit
- 1Wipe-on polyurethane (or stain + poly)
Tool and material links are affiliate links. Disclosure.
Step-by-step instructions
The same steps as the interactive 3D guide, where each step is animated.
1The finished project
A farmhouse dining table 72" long, 38-1/2" wide and 30" tall, with room for six chairs.
- Read every step once before you cut anything.
- The top is seven 2x6 boards A, 72" long, joined edge to edge with glue and pocket screws from below. It sits on four 4x4 legs B, joined by long aprons C and end aprons D at the top and by end stretchers E and a center stretcher F near the floor.
- The base is 60" x 33". The top overhangs it by 6" at each end and 2-3/4" at the front and back. There is 25" of clear height under the aprons. Six chairs fit: two per long side, with 53" between the legs, and one per end, with 26" between the legs; at the ends the feet meet the end stretcher, 6" off the floor.
- The top is never glued down: it swells and shrinks across its width, toward and away from the long aprons (source: USDA Forest Products Laboratory, Wood Handbook, FPL-GTR-282, chapter 4). Screws in slotted cleats G and four figure-eight fasteners let it move (step 14).
This plan does not give a weight rating. It is a dining table for meals and everyday use. Never stand, sit or climb on the table.
2Tools & materials
Buy the lumber, every board 96" long, and let it dry to the room before you cut it.
- Buy boards 96" long, untreated: seven 2x6, four 2x4, two 4x4 posts and one 2x2. Pick boards stamped KD-19 or S-DRY where you can: dried to 19 percent moisture or less (source: American Softwood Lumber Standard, NIST PS 20, administered by the American Lumber Standard Committee). S-GRN means still green.
- Pick straight, flat boards without twist, cracks or large knots near the ends, and the seven best 2x6 boards for the top.
- Wood indoors settles below 19 percent (source: USDA Forest Products Laboratory, Wood Handbook, FPL-GTR-282, chapter 13), so stack the boards flat in the room on scrap sticks for one to two weeks. With a moisture meter, wait until the readings stop dropping from one day to the next.
Wear eye and hearing protection. Carry the 72" boards and the finished top with a helper.
3Cut and lay out the top boards
Cut seven top boards 72" long, then number them and mark the bottom face.
- Check one end of each 2x6 with the speed square and trim it square if it is not. Measure 72" from that end and cut each board to length. All seven must be the same length: stack them, ends flush, and check.
- Lay the seven boards side by side on the sawhorses, best face up. Turn them so the growth rings in the end grain alternate, arcs up, then arcs down. Put the straightest boards at the front and the back edge.
- Construction 2x6 boards have rounded edges, so the six seams will show as small V-grooves on the top: that is the look of this plan. Ripping the edges square would make the top narrower than drawn.
- Number the boards 1 to 7 in pencil from the front edge, on the bottom face, and pencil BOTTOM and an arrow toward the left end on each one. The steps measure from the left end.
Clamp each board to the sawhorses before you cut. Never hold a board near the blade with your hand.
Keep all seven 2x6 offcuts: one tests the pocket-hole jig (step 5), they hold joints flush (step 11) and raise the base (step 12).
4Cut the legs, aprons, stretchers and cleats
Cut four legs from the 4x4s, seven base parts from the 2x4s and two cleats from the 2x2.
- Legs B: cut two legs 28-1/2" long from each 4x4 post. A 7-1/4" circular saw does not cut through a 4x4 in one pass: mark the line on all four faces, cut along it on one face, roll the post over and cut along it on the opposite face.
- From two of the 2x4s, cut one long apron C 53" long and one end apron D 26" long each. From the third, cut the center stretcher F 60" long and one end stretcher E 26" long. From the fourth, cut the second end stretcher E.
- Cleats G: cut two pieces 46" long from the 2x2.
- Pencil TOP on one long edge of each apron and each end stretcher, and the letter on every part. On each leg, pencil BOTTOM on one end.
All four legs must be the same length, or the table will rock. Cut one, check it, then use it to mark the others. The same goes for the end aprons, the end stretchers and the cleats.
5Drill the pocket holes in the top boards
Drill seven pocket holes along one or both edges of boards 2 to 6, on the bottom face.
- Set the pocket-hole jig and the drill collar for 1-1/2" material, as the jig manual says. Drill a test hole in a 2x6 offcut first.
- Boards 2 and 3: drill along the front edge (the edge toward board 1). Boards 5 and 6: along the back edge (toward board 7). Board 4: along both edges. Boards 1 and 7 get no holes: they sit over the long aprons.
- On every edge you drill, mark seven holes on the BOTTOM face, 3" from the left end and then every 11": the last one ends up 3" from the right end. Clamp the jig to the board, its guide on the mark, and drill: 42 holes in all.
- The holes slant toward the edge, so each screw comes out of the edge and goes into the next board.
Clamp the jig to the board every time. Never hold the board by hand while drilling.
Drill only into the BOTTOM face. A pocket hole on the top face cannot be hidden.
6Join the top
Glue and pocket-screw the seven boards together, bottom face up, one board at a time.
- Lay board 1 across the two sawhorses, BOTTOM face up. Spread a thin bead of glue along the front edge of board 2 and set it against board 1, BOTTOM face up, left ends flush.
- At each pocket hole, clamp the two boards flush with the 6 in reach face clamp across the seam, then drive a 2-1/2 in pocket screw. Start in the middle and work out to both ends: 7 screws per seam.
- Add boards 3 to 7 the same way, in order: glue the front edge of the new board and drive the screws through the pocket holes along that seam, in the new board (boards 3 and 4) or in the board already joined (boards 5, 6 and 7). Keep the left ends flush and check with the speed square across the left end after each board.
- Wipe off the glue that squeezes out before it dries, and let the glue dry as the bottle says. The top is now 72" x 38-1/2".
Get a helper to move the joined top: it is heavy and awkward. Lift with your legs and keep your back straight.
Glue only the edges between the boards. No glue goes between the top and the base.
7Drill the pocket holes in the base
Drill two pocket holes at each end of the four aprons and the two end stretchers.
- Keep the jig set for 1-1/2" material. Pick the better face of each apron and stretcher as the outside face and pencil OUT on it. The pocket holes go in the other face, the inside.
- At each end of every apron C and D and every end stretcher E, mark two holes on the inside face, 1" from each long edge, so they are 1-1/2" apart.
- Clamp the jig flush with the end of the board, its guides on the marks, and drill. The holes slant toward the end: two at each end of every board, 24 holes in all.
Drill every pocket hole in the inside face. If one ends up on the OUT face, that face will show from the outside of the table.
8Drill the center and end stretchers
On the bench, drill the screw holes in the center stretcher and the pilots in the end stretchers that it will sit on.
- Center stretcher F: at each end, mark two holes 3/4" from the end and 1" from each long edge, so they are 1-1/2" apart. Drill a 3/16" clearance hole through at each mark and countersink it: 4 holes.
- End stretchers E: on the TOP edge, mark two holes along the middle of the edge, 3/4" from each face, at 12-1/4" and 13-3/4" from the end. They are centered, so either end works.
- At each mark, drill a 7/64" pilot 1-1/2" deep, straight down, with a masking-tape flag on the bit: 2 pilots per end stretcher. Drill them now: once the end aprons are on, there is no room above for a drill with a long bit.
Clamp each board to a sawhorse before you drill. Keep the bit square to the edge, so the screw stays in the middle of the end stretcher.
9Drill the cleats and the recesses
Drill two sets of holes in each 2x2 cleat, and two figure-eight recesses in the TOP edge of each end apron.
- Cleats G: pencil BOTTOM on one face and APRON on a face next to it. On the face opposite APRON, along its middle, mark five holes 1-1/2" and 12" from each end and one in the middle. Drill a 3/16" clearance hole through to the APRON face at each mark and countersink it.
- On the BOTTOM face, along its middle, mark four slots 6-1/2" from each end and 11" apart. At each mark drill five 3/16" holes through to the top in a row across the cleat, 7/64" apart center to center: the two outer ones 7/32" each side of the mark first, then the middle, then the two between. Rock the bit to clean out a slot 5/8" long running across the cleat.
- End aprons D: on the TOP edge, mark two recesses 1/4" from the inside face, 6-3/4" from each end, so they are 12-1/2" apart. Drill each with the Forstner bit, centered on the mark, as deep as the fastener is thick (about 1/8"): the recess just breaks through the inside face. Follow the fastener pack if it says otherwise.
Clamp each part to a sawhorse before you drill. The slots must run across the cleat, never along it: the top moves across its width.
10Build the two end frames
Glue and pocket-screw an end apron and an end stretcher between two legs. Build two end frames.
- On the inside face of each leg (the face the end apron and stretcher touch), mark 6" and 9-1/2" from the BOTTOM end: the end stretcher fits between the two marks.
- Lay two legs on a flat floor, 26" apart, with the face that will point out at the end of the table down. Set an end apron D between their top ends, TOP edge flush with the leg tops, and an end stretcher E between the marks, TOP edge toward the apron. Both lie OUT face down, flush with the outside of the legs, pocket holes up.
- Glue the ends, then clamp the two legs together with the 36 in bar clamps, one across the apron and one across the stretcher: the clamps close the joints and the floor keeps the outside faces flush. Drive one 2-1/2 in pocket screw at each joint. Measure both diagonals of the frame, from the top outside corner of one leg to the bottom outside corner of the other: both are 43-5/8". If not, push the long corners together until they match.
- Then drive the second screw at each joint: 4 screws for the apron and 4 for the stretcher, 8 per end frame. Build the second end frame the same way. The drawing shows the frame standing up, as it will stand in the table.
Keep the outside faces of the apron and the stretcher flush with the outside of the legs. Feel the joint with your fingers before you drive the screw.
11Add the long aprons and square the base
Join the two end frames with the long aprons, upside down on the floor, and square the base before the last screws.
- Stand both end frames upside down on a flat floor, on the leg tops and the TOP edge of the end apron, pocket holes facing each other, about 53" apart. The floor keeps every apron flush with the leg tops.
- Lay a long apron C on the floor between the front legs, TOP edge down, OUT face out, and push the end frames in against its ends. Lay the second long apron between the back legs the same way.
- Work one joint at a time. Glue the apron end. At each joint, lay a 2x6 offcut across the outside of the leg and the apron end and clamp it with two bar clamps, one on the leg and one on the apron, so the faces stay flush. The drill lies on its side on the floor: drive with the bit holder, or the long driver bit that comes with the jig. Drive one 2-1/2 in pocket screw at each of the four joints, the one 1" from the TOP edge.
- Measure both diagonals across the leg tops, outside corner to outside corner: both are 68-1/2". If not, push the long corners together until they match, then drive the second screw at each joint: 8 screws for the two long aprons.
Work with a helper: the end frames tip over until the aprons are on.
12Fit the slotted cleats
With the base still upside down, glue and screw a cleat to the inside of each long apron.
- Keep the base upside down and lift it onto four 2x6 offcuts, one under each leg top, laid along the end aprons and not under the long aprons, so the cleat holes end up about 2-1/4" off the floor, room for the drill chuck. Hold the drill with its handle pointing up. Hold a cleat G against the inside face of the front long apron, APRON face against the apron, BOTTOM face up, centered: 3-1/2" from each end of the apron, and flush with the TOP edge of the apron (lay the speed square across both).
- Glue the APRON face and clamp the cleat to the apron. Through each of the five clearance holes, drill a 7/64" pilot about 1" into the apron with the long bit (tape flag 2-1/2" from the tip, so it stops 1/2" short of the outside face). Drive a #8 x 2-1/2 in flat-head screw in each with the bit holder: 5 per cleat.
- Fit the second cleat to the back long apron the same way: 10 screws in all. The cleats go on now, after the long aprons: before, they would block the driver for the upper pocket screws.
Check that the slots run across the cleat, from the apron toward the middle of the table, before you glue it.
13Add the center stretcher and the figure-eights
Turn the base upright, screw the center stretcher onto the end stretchers and screw a figure-eight into each recess.
- With your helper, turn the base onto its legs. The center stretcher F is 60" long and only 57" fits between the end aprons, so slide it in through one end frame, in the 15-1/2" opening between the end stretcher and the end apron. Lay it across both end stretchers, countersinks up, holes over the pilots, ends flush with the outside of the legs.
- There is only 14" between the center stretcher and the end apron above it: too little for a drill with a #8 x 3 in screw on the bit. Fit the right-angle attachment on the drill and drive the 4 screws through F into the pilots.
- Set a figure-eight fastener in each recess of the end aprons, one ring over the center of the recess and the other ring sticking out past the inside face, pointing along the table. Drill a 7/64" pilot about 1/2" deep through the ring (masking-tape flag on the bit) and drive a #8 x 5/8 in screw, snug but not tight, so it can still pivot: 4 fasteners.
Keep the screws straight, so they stay in the middle of the end stretcher.
14Attach the top
Seal the underside, set the base upside down on the top and drive the screws in the slots and the figure-eights.
- First sand the BOTTOM face and the ends of the top with 120 grit and wipe on the finish you will use in step 15. Let it dry.
- Lay the top BOTTOM face up on a moving blanket on the floor. With your helper, set the base upside down on it: the legs 6" from each end and 2-3/4" from the front and back edge.
- Cleats: through the middle of each slot, drill a 7/64" pilot about 1" into the top with the long bit (tape flag 2-1/2" from the tip) and drive a #8 x 2-1/2 in pan-head screw with a washer, snug: 8 screws. The apron stands 2" above the cleat, so use the bit holder.
- Figure-eights: drill a 7/64" pilot 1/2" deep through each free ring and drive a #8 x 5/8 in screw, snug: 4 screws.
- The top moves across its width, toward and away from the long aprons (source: USDA Forest Products Laboratory, Wood Handbook, FPL-GTR-282, chapter 4): the screws slide in the slots and the figure-eights swing. Never glue it down. Turn the table over with your helper.
Use the screw lengths named here: a longer one can come out of the top face. Lift with your legs when you turn the table.
15Sand and finish
Sand the top smooth and finish the rest of the table.
- Sand the top with 120 grit until the seams are flush, then 180 and 220 grit. Ease every sharp edge.
- Apply the finish to the top face and the base as the can says, stain first if you like, the same finish as the underside.
Finish in a well-ventilated space. No weight rating: never stand, sit or climb on the table.
Farmhouse Dining Table: frequently asked questions
What size is a 6 ft farmhouse table?
This Farmhouse Dining Table is 72 in long, 38-1/2 in wide and 30 in tall (1829 x 978 x 762 mm). The top is seven 2x6 boards side by side, 1-1/2 in thick, and the base under it is 60 x 33 in (1524 x 838 mm), so the top overhangs 6 in at each end and 2-3/4 in at the front and back.
How many people does a 6 ft farmhouse table seat?
The Farmhouse Dining Table seats six: two chairs on each long side and one at each end. Each long side has 53 in (1346 mm) between the legs and each end has 26 in (660 mm) between the legs, measured inside the legs. At the ends, the diner's feet meet the end stretcher, 6 in (152 mm) off the floor.
How much lumber do I need to build a farmhouse table?
You need seven 2x6 boards, four 2x4 boards, two 4x4 posts and one 2x2 board, all 8 ft long, to build the Farmhouse Dining Table. Each 2x6 gives one 72 in top board, the 4x4s give the four 28-1/2 in legs, the 2x4s give two 53 in long aprons, two 26 in end aprons, two 26 in end stretchers and one 60 in center stretcher, and the 2x2 gives the two 46 in slotted cleats.
How tall should a farmhouse dining table be?
The Farmhouse Dining Table is 30 in (762 mm) tall to the top of the boards: the legs are 28-1/2 in long and the top adds 1-1/2 in. There is 25 in (635 mm) of clear height from the floor to the bottom of the aprons, and the end stretchers sit 6 in (152 mm) off the floor.
How do you attach a tabletop so it can move?
The Farmhouse Dining Table top is held by 8 #8 x 2-1/2 in pan-head screws with washers in 5/8 in slots in two 2x2 cleats on the long aprons, and by 4 figure-eight fasteners on the end aprons, with 8 #8 x 5/8 in screws. A solid-wood top swells and shrinks across its width as the air gets humid or dry and barely changes along its length (source: USDA Forest Products Laboratory, Wood Handbook, FPL-GTR-282, chapter 4). Across this top that movement runs straight toward and away from the long aprons, so the slots there run across the cleats and the screws slide in them, while the figure-eights point along the table and swing sideways. The top is never glued to the base.
What tools do I need to build a farmhouse table?
You need a circular saw, a speed square, a tape measure, a drill/driver, a pocket-hole jig, a pocket-hole face clamp with 6 in reach, bar clamps, two 36 in bar clamps, a 3/16 in drill bit, a countersink bit, a 6 in long 7/64 in drill bit, a 6 in bit holder, a right-angle drill attachment, a 3/4 in Forstner bit (or the size your figure-eight fasteners ask for), two sawhorses, a moving blanket and a random orbit sander to build the Farmhouse Dining Table. A pin moisture meter is optional, to check that the boards have dried to the room.
How long does it take to build a farmhouse table?
The Farmhouse Dining Table takes about two days, glue drying included. The plan has 15 steps and 20 parts, joined with 66 pocket screws, 4 #8 x 3 in screws, 10 #8 x 2-1/2 in flat-head screws, 8 #8 x 2-1/2 in pan-head screws with washers and 4 figure-eight fasteners with 8 #8 x 5/8 in screws.
How is this farmhouse table held together?
The Farmhouse Dining Table is held together with glue and 66 pocket screws 2-1/2 in long: 42 join the seven top boards, 16 join the four aprons to the legs and 8 join the two end stretchers to the legs. Four #8 x 3 in screws fix the center stretcher to the end stretchers, 10 #8 x 2-1/2 in screws and glue fix the two cleats to the long aprons, and 8 screws in slots plus 4 figure-eight fasteners hold the top. This plan gives no weight rating: it is a dining table for meals and everyday use.
Get the next plan
We let you know when a new plan is published.
More plans
Raised Garden Bed
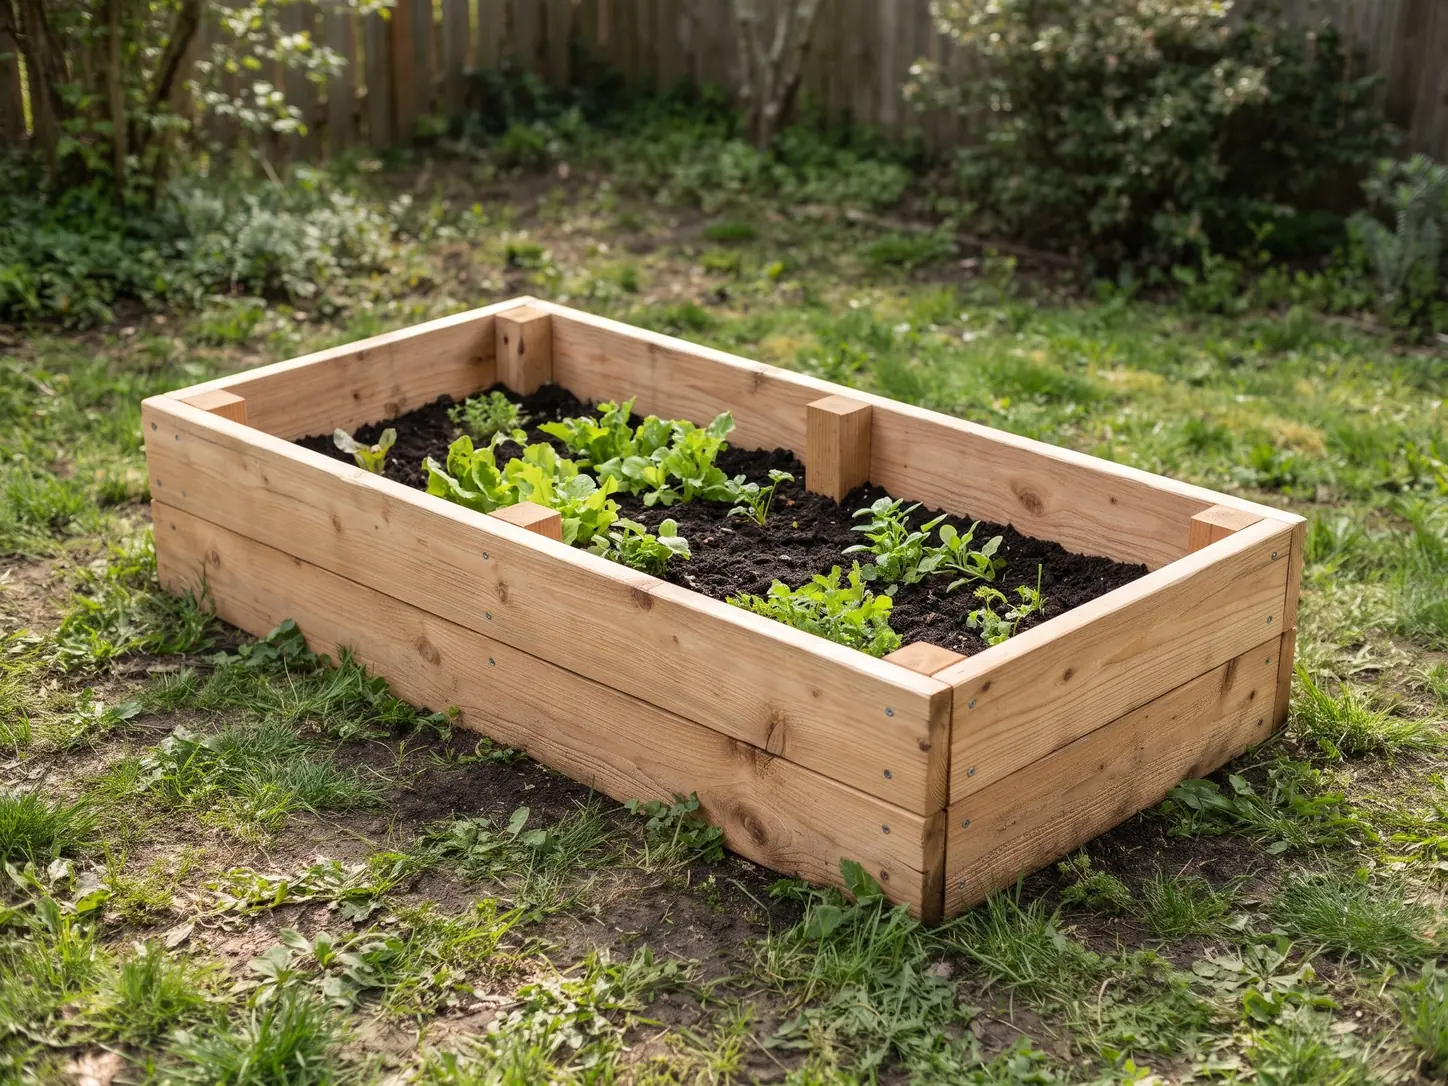
A 4 x 8 ft cedar bed, 11 in deep, from six 2x6 boards and one 4x4 post. Straight cuts and 40 screws, one afternoon.
View planGarage & workshop2x4 Garage Shelving
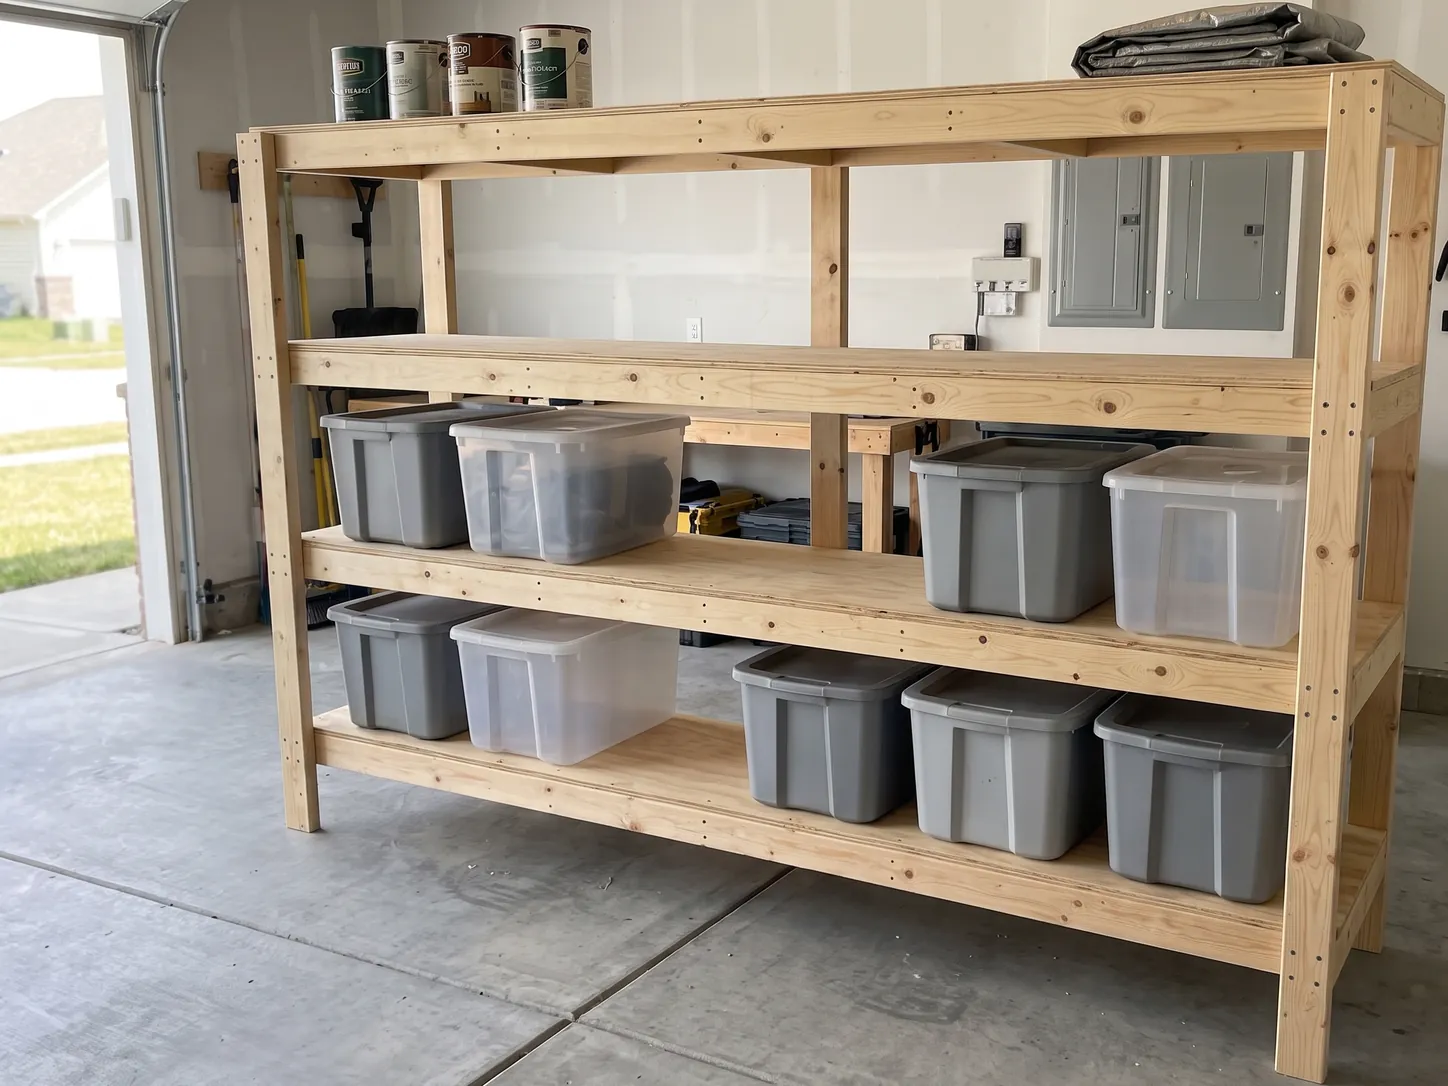
Freestanding 8 ft shelving from 2x4s and plywood. Four 24 in deep shelves, one afternoon with a helper.
View planBedroomPlatform Bed Frame
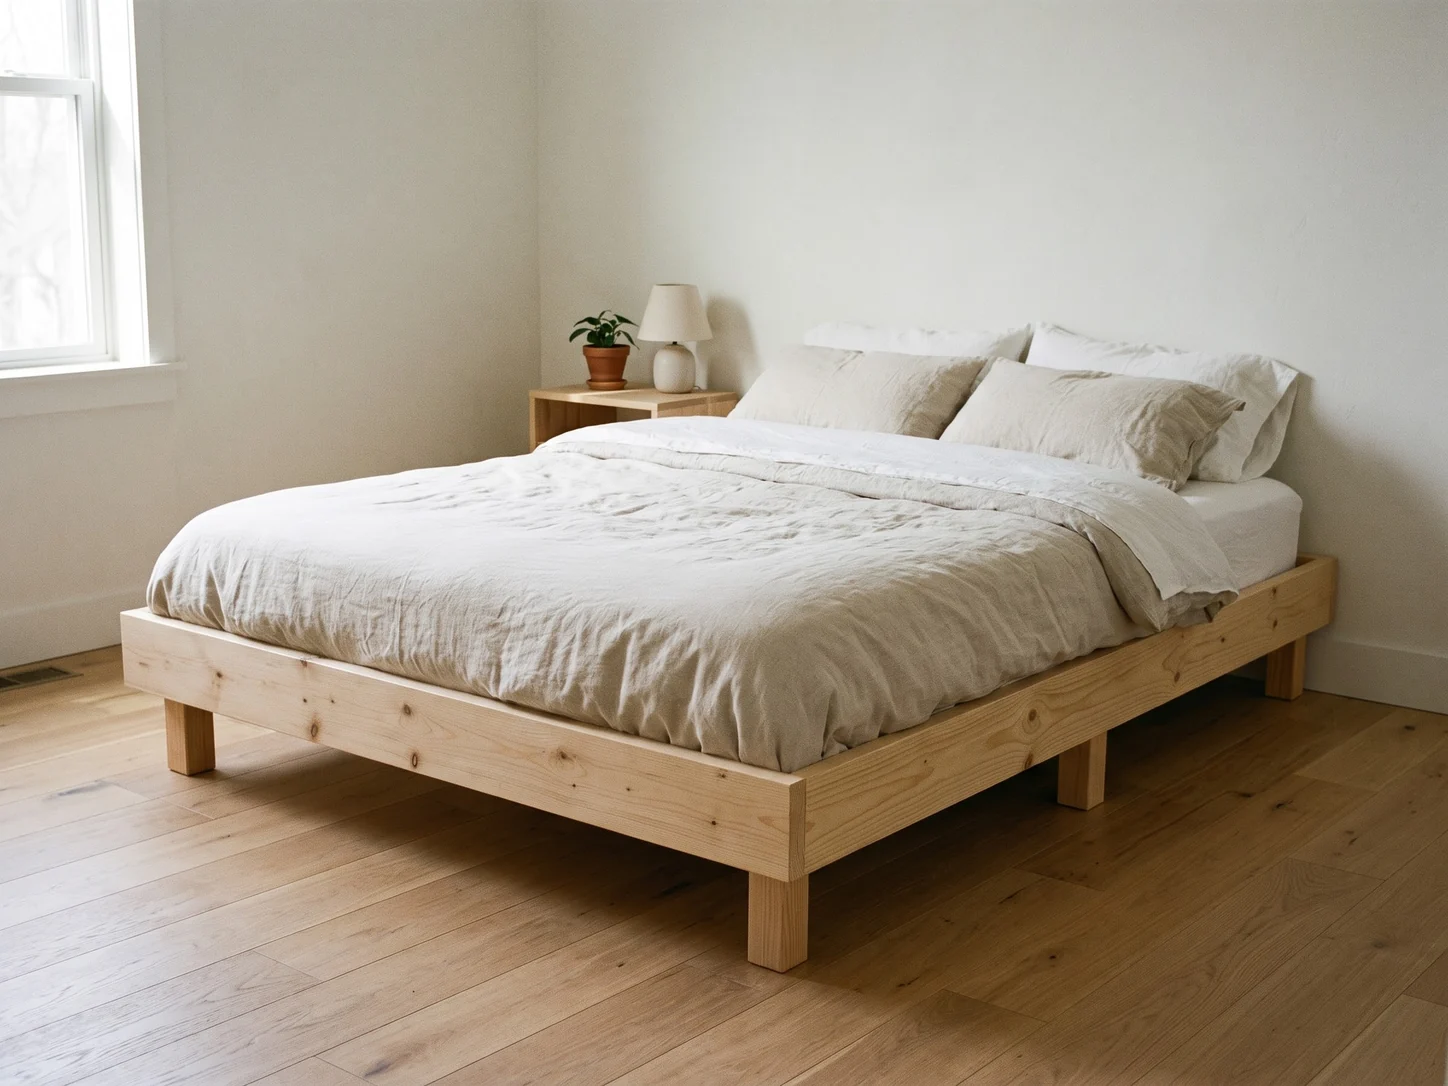
A queen bed frame from 2x6 rails, 1x4 slats and 4x4 legs. No box spring needed, straight cuts only.
View plan