Bedroom · 12 steps
Platform Bed Frame
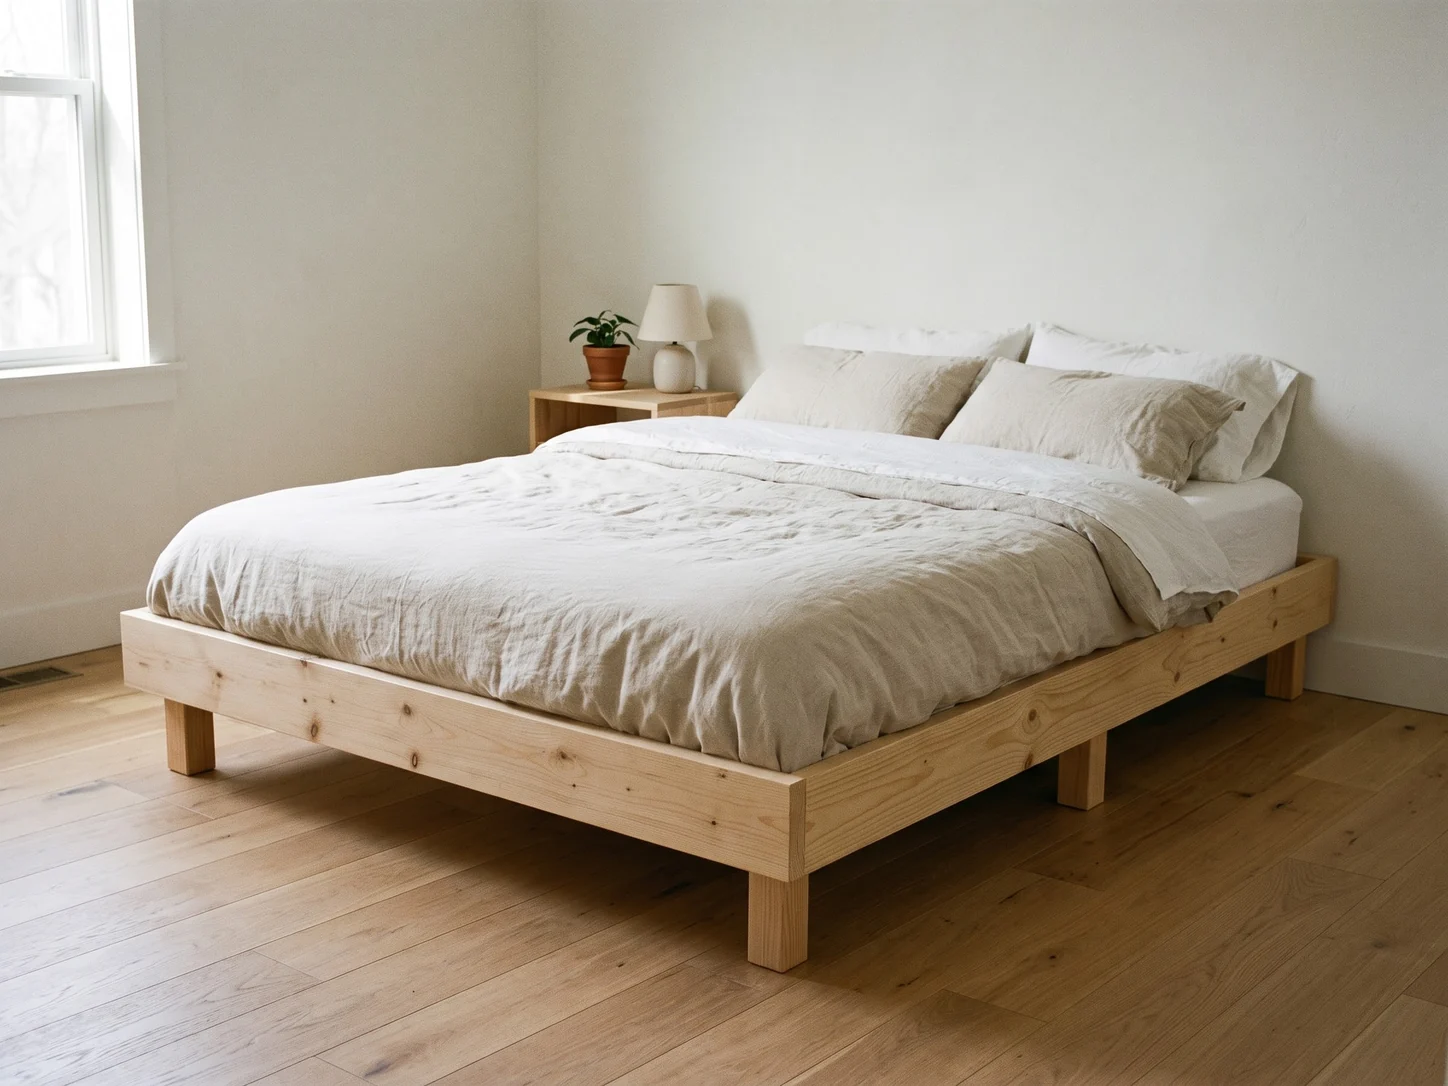
A queen bed frame from 2x6 rails, 1x4 slats and 4x4 legs. No box spring needed, straight cuts only.
- Finished size
- 83-1/2" W x 63-1/2" D x 13-3/4" H
- Metric
- 2121 mm x 1613 mm x 349 mm
- Material
- 2x6, 1x4, 2x4, 2x2 and 4x4 boards, 8 ft long
- Steps
- 12
- Build time
- 6 hours
- Skill
- Beginner
What you will build
A platform bed frame for a standard US queen mattress (60 x 80 in), 83-1/2 in long, 63-1/2 in wide and 13-3/4 in tall, built from 8 ft lumber: four 2x6 boards, thirteen 1x4 boards, one 2x4, two 2x2s and one 4x4 post. The side rails run the full length and the end rails butt between them; inside, the frame is 60-1/2 x 80-1/2 in, so the mattress has 1/4 in of play on each side. Seven 4x4 legs stand inside the frame: one in each corner and three that carry a 2x4 center beam. Thirteen 1x4 slats rest on 2x2 cleats along the side rails and on the center beam, with 2-3/4 in gaps, 3/4 in below the top of the rails. The slats sit 13 in off the floor and there is 8-1/4 in of clearance under the rails. No box spring is needed. Every cut is straight, the 102 screws need no glue, and every rail and beam screw goes into a leg, never into end grain.
Cut list
Every part is lumber: 2x6 (1-1/2 x 5-1/2 in), 2x4 (1-1/2 x 3-1/2 in), 2x2 (1-1/2 x 1-1/2 in), 4x4 (3-1/2 x 3-1/2 in) and 1x4 (3/4 x 3-1/2 in).
| Part | Name | Material | Qty | Length | Width |
|---|---|---|---|---|---|
| A | Side rail | 2x6 | 2 | 83-1/2" (2121 mm) | 5-1/2" (140 mm) |
| B | End rail | 2x6 | 2 | 60-1/2" (1537 mm) | 5-1/2" (140 mm) |
| C | Corner leg | 4x4 | 4 | 10-3/4" (273 mm) | 3-1/2" (89 mm) |
| D | Center leg | 4x4 | 3 | 12-1/4" (311 mm) | 3-1/2" (89 mm) |
| E | Center beam | 2x4 | 1 | 80-1/2" (2045 mm) | 3-1/2" (89 mm) |
| F | Slat cleat | 2x2 | 2 | 80-1/2" (2045 mm) | 1-1/2" (38 mm) |
| G | Slat | 1x4 | 13 | 60-1/4" (1530 mm) | 3-1/2" (89 mm) |
Tools
- Circular sawOr have the store cut the boards to length
- Drill / driver
- 13/64" drill bit
- 3/16" drill bit
- Countersink bit with 1/8" pilot drill
- 1/8" drill bit, 6 in long
- 7/64" drill bit, 6 in long
- Speed square
- Tape measure
- Bar clamps (4)
- Sawhorses (pair)
Materials
- 42x6 x 8 ft boards, 96 in, straight and kiln-dried
- 131x4 x 8 ft boards, 96 in (slats)
- 12x4 x 8 ft boards, 96 in (not precut studs)
- 22x2 x 8 ft boards, 96 in, straight (cleats)
- 14x4 x 8 ft post, untreated (legs)
- 26#10 x 3" wood screws (rails, beam and legs)
- 24#8 x 2-1/2" wood screws (cleats)
- 52#8 x 1-5/8" wood screws (slats)
Tool and material links are affiliate links. Disclosure.
Step-by-step instructions
The same steps as the interactive 3D guide, where each step is animated.
1The finished project
A queen platform bed frame 83-1/2" long, 63-1/2" wide and 13-3/4" tall, for a 60" x 80" mattress.
- Read every step once before you cut anything.
- The side rails A run the full 83-1/2". The end rails B are 60-1/2" long and fit between them, so the inside of the frame is 60-1/2" x 80-1/2": 1/4" of play on each side of a 60" x 80" queen mattress.
- Seven 4x4 legs stand inside the frame: corner legs C in the corners and center legs D that carry the 2x4 center beam E. Every rail and beam screw goes into a leg, never into the end grain of another board.
- Thirteen 1x4 slats G rest on the 2x2 cleats F along the side rails and on the center beam. Their top is 13" off the floor, 3/4" below the top of the rails. There is 8-1/4" of clearance under the rails.
This plan does not give a weight rating. It is a bed frame for a queen mattress, without a box spring.
2Tools & materials
Buy the lumber, every board 96" long, and three kinds of screws.
- Buy boards 96" long: four 2x6, thirteen 1x4, one 2x4, two 2x2 and one 4x4 post. Measure them in the store: the cutting plan uses that length.
- Pick straight boards without twist and without large knots or cracks near the ends, where the screws go. Sight down each board before you buy it.
- Pick up the screws on the materials list: 26 #10 x 3 in, 24 #8 x 2-1/2 in and 52 #8 x 1-5/8 in. The three sizes are not interchangeable. A box of 50 or 100 is fine where the count is not a box size.
- At home, before you cut anything, check one end of every board with the speed square and trim it square if it is not. Measure every part from that end.
Wear eye and hearing protection when cutting and drilling.
The rails are 83-1/2" long. Carry them with a helper through doors and stairs.
3Cut the rails, beam, cleats and legs
Cut the four rails, the beam, two cleats and seven legs.
- Side rails A: cut two 2x6 boards to 83-1/2". End rails B: cut the other two 2x6 boards to 60-1/2".
- Center beam E: cut the 2x4 to 80-1/2". Cleats F: cut both 2x2s to 80-1/2". The beam and the cleats fit exactly between the end rails, so all three must be the same length.
- Legs: from the 4x4, cut four corner legs C 10-3/4" long, then three center legs D 12-1/4" long. Seven legs and six saw cuts use 80-1/2" of the post.
- A 7-1/4" circular saw does not cut through a 4x4 in one pass. Mark the line on all four faces, cut along it on one face, roll the post over and cut along it on the opposite face.
- Pencil a letter on each part, and pencil TOP on one long edge of each rail.
Clamp each board to sawhorses or a bench before you cut. Never hold a short piece near the blade with your hand.
All four corner legs must be the same length, and all three center legs too, or the bed will rock. Cut one, check it, then use it to mark the others.
4Cut and drill the slats
Cut thirteen slats 60-1/4" long and drill four screw holes in each.
- Cut one slat G from each 1x4 board, 60-1/4" long. That is 1/4" shorter than the inside of the frame, so each slat has 1/8" of play at each end.
- Lay the slats on the bench, best face up. At each end, mark two screw centers 7/8" from the end of the slat: one 1" from each long edge, so they end up 1-1/2" apart.
- Drill a 3/16" clearance hole through the slat at each mark and countersink it so the screw head sits flush. That is 4 holes per slat, 52 in all. The pilots into the cleats are drilled later.
- Drill the first slat, then lay it on top of the next one as a template and drill through its holes.
Keep the holes 7/8" from the slat ends: closer, the slat can split when you drive the screw.
5Drill the side rails
Drill two screw holes at each end of both side rails.
- Choose the better face of each side rail A as the outside face and pencil OUT on it. Lay the rails on the bench with OUT facing up and the TOP edge away from you.
- At each end, mark two screw centers 3/4" from the bottom edge (the edge without TOP): the first 2-1/2" from the end of the rail, the second 4" from the end, so they end up 1-1/2" apart.
- Drill a 13/64" clearance hole for the #10 screws through the rail at each mark and countersink it. That is 4 holes per side rail, 8 in all.
Keep the holes 3/4" from the bottom edge. The end-rail screws sit higher, so the screws that meet inside a corner leg pass each other.
6Drill the end rails
Drill six screw holes in each end rail: two at each end and two in the middle.
- Pencil OUT on the better face of each end rail B and lay it on the bench with OUT facing up and the TOP edge away from you. Pencil A1 END on the right end of one rail and on the left end of the other: the two end rails are mirror images.
- Mark every hole 1-5/8" from the bottom edge, 7/8" higher than on the side rails.
- At each end, mark two holes 1" and 2-1/2" from the end of the rail. For the center leg, mark two holes 32" and 33-1/2" from the A1 END. They are off center on purpose: the center leg stands beside the beam, which is centered.
- Drill a 13/64" clearance hole for the #10 screws through the rail at each mark and countersink it. That is 6 holes per end rail, 12 in all.
Measure the middle holes from the A1 END on both end rails. In the bed, both A1 ENDs go toward side rail A1, with OUT facing out.
7Drill the beam and the cleats
Drill six holes in the center beam and twelve in each cleat.
- Center beam E: lay it on the bench on a wide face. Mark two holes 1" from each long edge, so they are 1-1/2" apart, at three places: 2-1/2" from each end and in the middle, 40-1/4" from the end. Drill a 13/64" clearance hole for the #10 screws at each mark.
- Cleats F: lay each cleat on the bench. Mark twelve holes along the middle of one face, 3/4" from each edge: the first 5-7/8" from the end, then one every 6-1/4". The last one ends up 5-7/8" from the other end. Each hole falls between two slats.
- Drill a 3/16" clearance hole for the #8 screws through the cleats at each mark. Countersink every hole, beam and cleats, on the marked face. That is 6 holes in the beam and 24 in the cleats.
Drill the cleat holes straight through the middle of the face. Off center, the screw can split the 2x2.
8Build the two end frames
Screw two corner legs and one center leg to each end rail. Build two identical end frames.
- Lay two corner legs C and one center leg D flat on the bench, parallel, and set an end rail B across them, OUT facing up. Line up each leg under a pair of holes.
- Corner legs: flush with the ends of the rail, their top ends 3" below the TOP edge of the rail. Center leg: under the middle holes, its sides 31" from the A1 END and 26" from the other end, its top end 1-1/2" below the TOP edge. The bottom ends of all three legs then line up, 8-1/4" past the bottom edge of the rail.
- Clamp the rail to the legs. Through each hole, drill a 1/8" pilot about 1-1/4" deep into the leg with the long bit, then drive a #10 x 3 in screw. That is 6 screws per end frame.
- Build the second end frame the same way. The drawing shows the frame standing up, as it will stand in the bed.
Check with the speed square that each leg is square to the rail before you drive its second screw.
9Add the side rails and square the frame
Screw the two side rails to the corner legs, and square the frame before the last screws go in.
- Stand the two end frames on the floor on their legs, OUT faces out, about 80-1/2" apart, both A1 ENDs on the same side: side rail A1 goes there.
- Hold a side rail A against the ends of the end rails, OUT facing out. Its ends must be flush with the OUT faces of the end rails and its TOP edge flush with their top edges. Clamp it to the corner legs.
- At each end, drill a 1/8" pilot about 1-1/4" deep into the corner leg through the hole nearest the end only, and drive one #10 x 3 in screw. Do the same with the second side rail. The frame now stands on 4 screws and can still be pushed square.
- Measure both outside diagonals, from the outside corner at one end to the opposite outside corner at the other end. They must be equal: 104-7/8" each. If they differ, push the two corners of the longer diagonal toward each other until both numbers match.
- Without moving the frame, drill the pilots and drive the second screw at each end of both side rails. That is 8 screws into the corner legs.
Work with a helper: the end frames do not stand on their own until both side rails are on.
10Add the center beam and the middle leg
Screw the center beam to the two center legs, then add the middle leg under it.
- Set the center beam E between the end rails, against the side of the center legs that faces side rail A1, marked face toward A1. Its ends touch the end rails and its top edge is flush with the tops of the center legs, 1-1/2" below the top of the rails. It is then centered across the bed, so the slats span 28" on each side of it, to the cleats. Clamp it to both legs.
- Through the two holes at each end, drill a 1/8" pilot about 1-1/4" deep into the leg, then drive a #10 x 3 in screw.
- Stand the middle leg D on the floor against the same face of the beam, behind the middle holes: its sides are 38-1/2" from the inside face of each end rail and its top is flush with the top of the beam. Clamp it, drill the pilots and drive 2 screws. That is 6 screws into the center legs.
If the beam is tight between the end rails, check the diagonals again: a frame out of square pinches it.
11Add the cleats
Screw a cleat to the inside of each side rail, resting on the corner legs.
- Set a cleat F against the inside face of side rail A1, countersunk face toward the middle of the bed, resting on top of the two corner legs, its ends touching the end rails. Its top is then flush with the top of the beam, 1-1/2" below the top of the rail.
- Clamp it. Through each of the 12 holes, drill a 7/64" pilot about 3/4" deep into the rail with the long bit, then drive a #8 x 2-1/2 in screw.
- Do the same with the second cleat on side rail A2. That is 24 screws into the side rails.
- Lay a straight board across the frame from cleat to cleat: it must touch both cleats and the beam. If it rocks, the beam is not flush with the cleats.
The cleat screws stop 1/2" short of the outside face of the rail. Use #8 x 2-1/2 in screws here, never the 3 in ones.
12Screw down the slats
Lay the thirteen slats 2-3/4" apart and screw each end to a cleat.
- Check the slat spacing your mattress maker asks for (this plan makes no warranty claim). If it is less than 2-3/4", follow the maker: that takes more slats.
- Sight down each slat and lay it crown down, so the bow points to the floor.
- Lay the first slat G at the head end, 1" from the end rail, centered between the side rails, holes up. Through each hole, drill a 7/64" pilot about 3/4" into the cleat and drive a #8 x 1-5/8 in screw.
- Cut two spacers 2-3/4" long from a 1x4 offcut. Set one at each end of the gap for every slat and screw down all 13 slats, 52 screws. The last slat ends up 1" from the foot end rail. After the first week of use, check that every screw is still tight.
Platform Bed Frame: frequently asked questions
What size bed frame do I need for a queen mattress?
This queen Platform Bed Frame is 83-1/2 in long, 63-1/2 in wide and 13-3/4 in tall (2121 x 1613 x 349 mm) and fits a standard US queen mattress of 60 x 80 in. Inside the rails it is 60-1/2 x 80-1/2 in (1537 x 2045 mm), which leaves 1/4 in of play on each side of the mattress.
How many 2x6 and 1x4 boards do I need for a queen bed frame?
You need four 2x6 boards and thirteen 1x4 boards, all 8 ft long, to build the queen Platform Bed Frame, plus one 2x4, two 2x2s and one 4x4 post, also 8 ft long. The 2x6 boards make the four rails, each 1x4 makes one slat, the 2x4 makes the center beam, the 2x2s make the two slat cleats and the 4x4 makes all seven legs.
How far apart should bed slats be?
The Platform Bed Frame has 13 slats 3-1/2 in wide with a 2-3/4 in (70 mm) gap between them, and a 1 in gap at the head and the foot. Mattress makers set their own rules for slat spacing, so check what yours asks for before you build. This plan makes no claim about any mattress warranty.
How tall is a platform bed frame?
This Platform Bed Frame is 13-3/4 in (349 mm) tall at the top of the rails, and its slats sit at 13 in (330 mm), 3/4 in below the rail top, so the mattress sits slightly into the frame. There is 8-1/4 in (210 mm) of clearance between the floor and the bottom of the rails.
Do I need a box spring with a platform bed frame?
No, the Platform Bed Frame needs no box spring: the mattress lies directly on 13 1x4 slats. The slats rest on a 2x2 cleat along each side rail and on a 2x4 center beam carried by three legs.
What tools do I need to build a bed frame?
You need a circular saw, a drill/driver, 13/64 in and 3/16 in drill bits for the clearance holes, 6 in long 1/8 in and 7/64 in drill bits for the pilots, a countersink bit, a speed square, a tape measure, bar clamps and two sawhorses to build the Platform Bed Frame. A miter saw also works for the cuts, but it is not needed.
How long does it take to build a platform bed frame?
A beginner can build the Platform Bed Frame in about 6 hours. The plan has 12 steps, 27 parts and 102 screws, with straight cuts only, no glue and no finish required.
How is this bed frame held together?
The Platform Bed Frame is held together by 102 screws: 26 #10 x 3 in screws join the rails and the center beam to the seven 4x4 legs, 24 #8 x 2-1/2 in screws fix the two cleats to the side rails, and 52 #8 x 1-5/8 in screws hold the 13 slats, 2 at each end. No screw goes into the end grain of a rail.
Get the next plan
We let you know when a new plan is published.
More plans
Raised Garden Bed
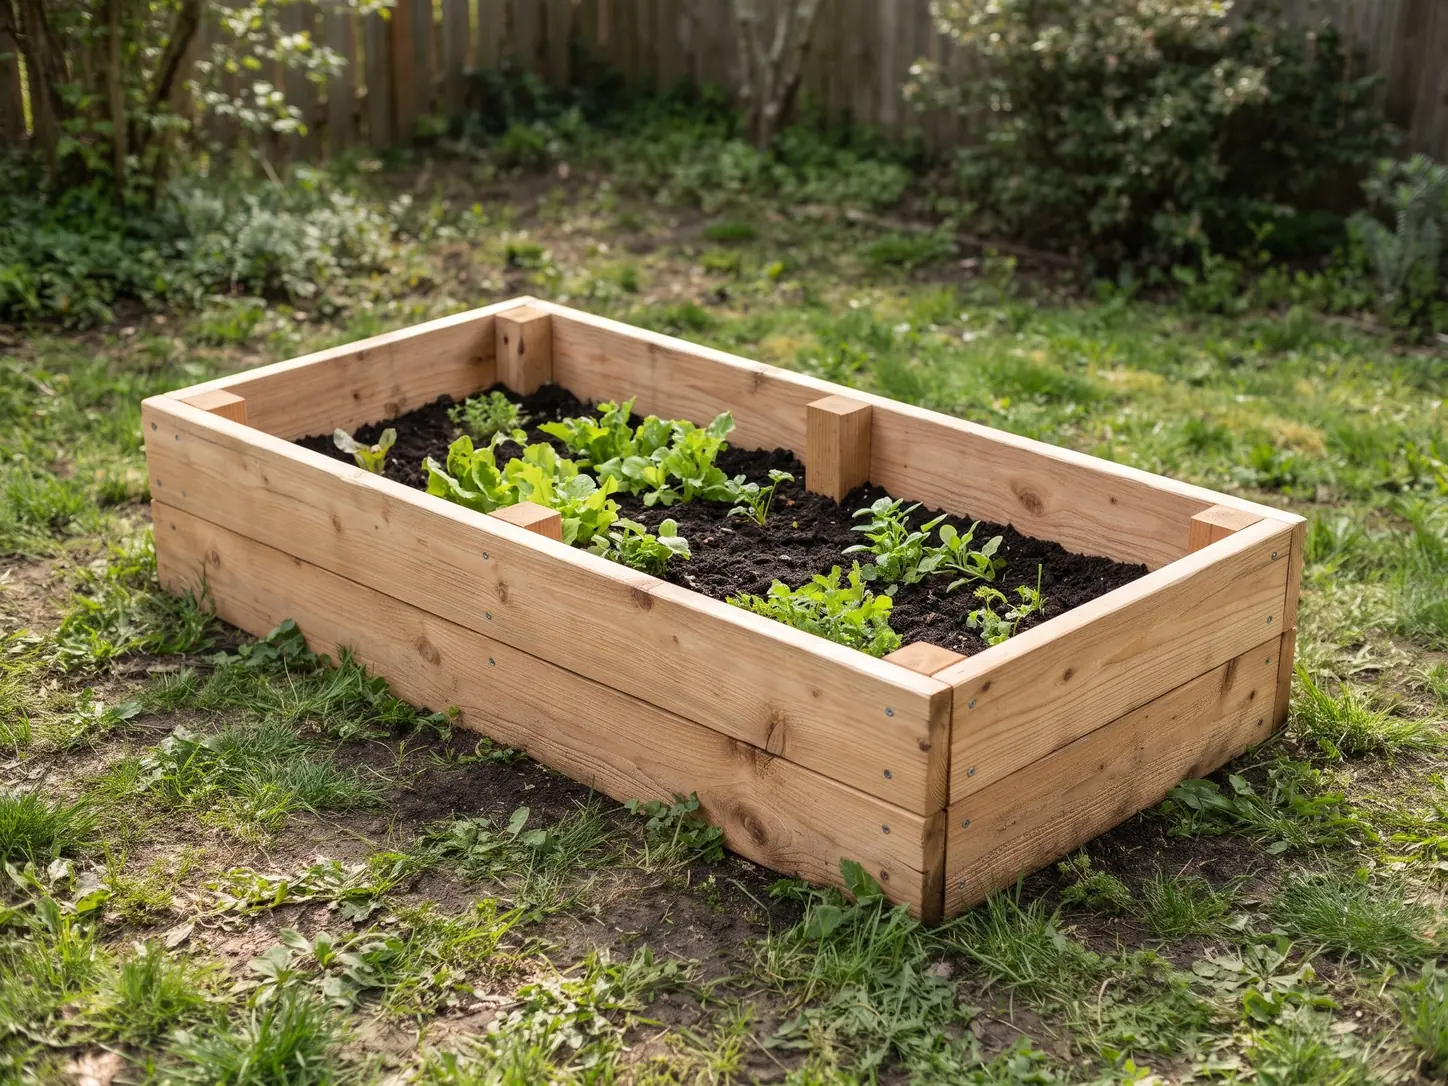
A 4 x 8 ft cedar bed, 11 in deep, from six 2x6 boards and one 4x4 post. Straight cuts and 40 screws, one afternoon.
View planGarage & workshop2x4 Garage Shelving
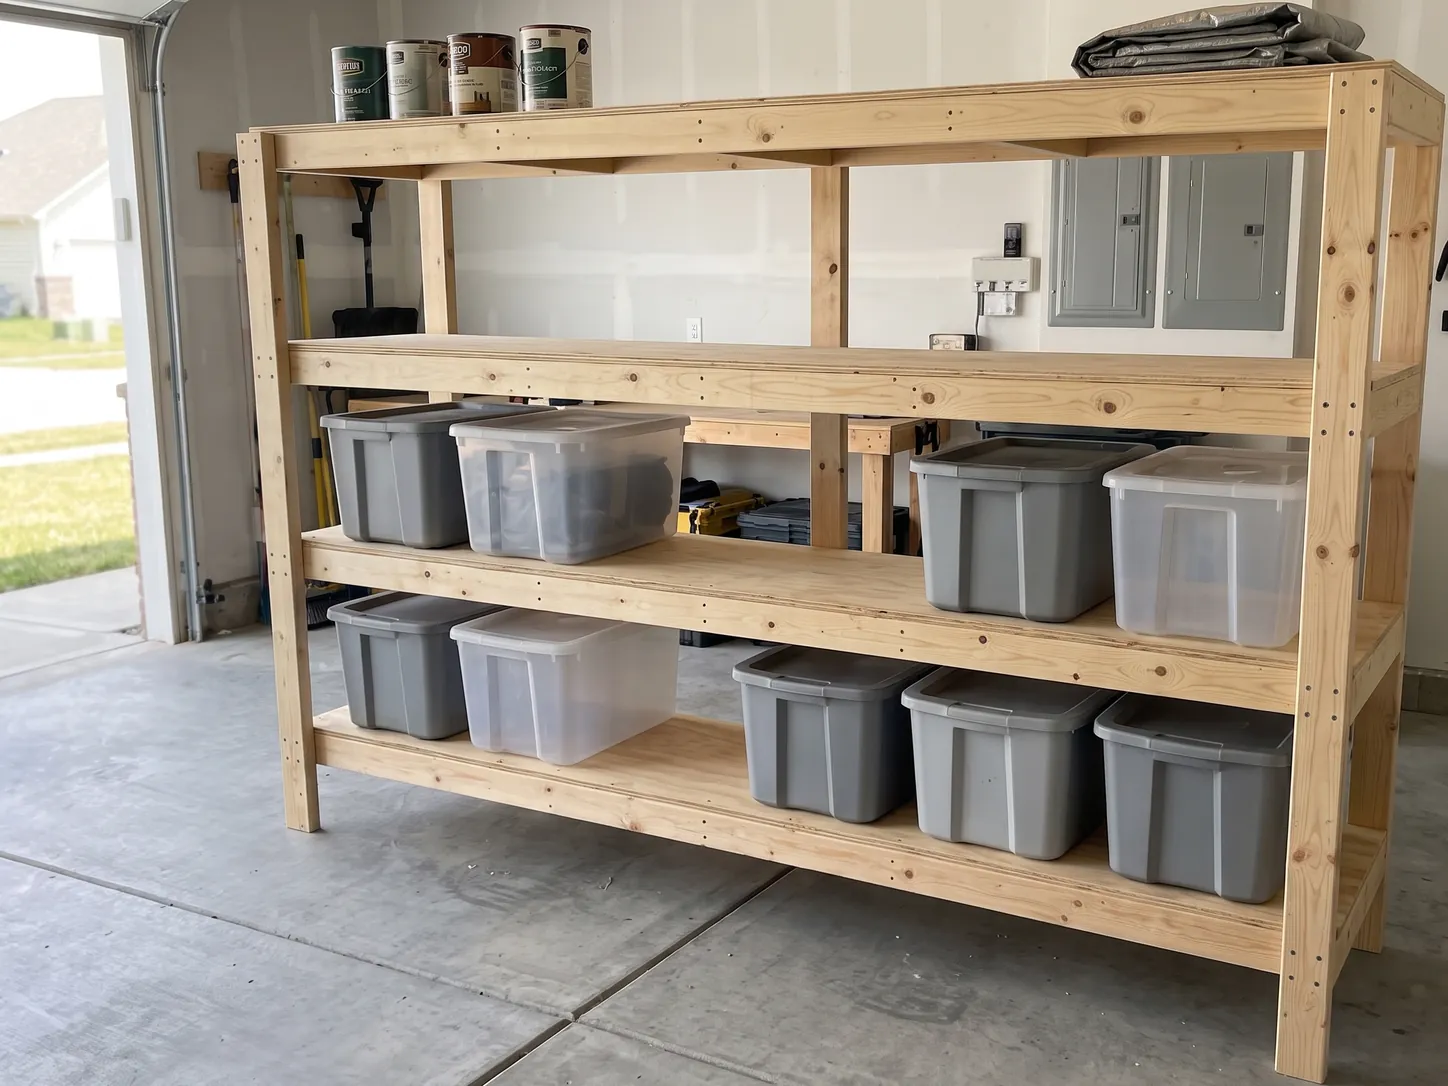
Freestanding 8 ft shelving from 2x4s and plywood. Four 24 in deep shelves, one afternoon with a helper.
View planGarage & workshop2x4 Workbench
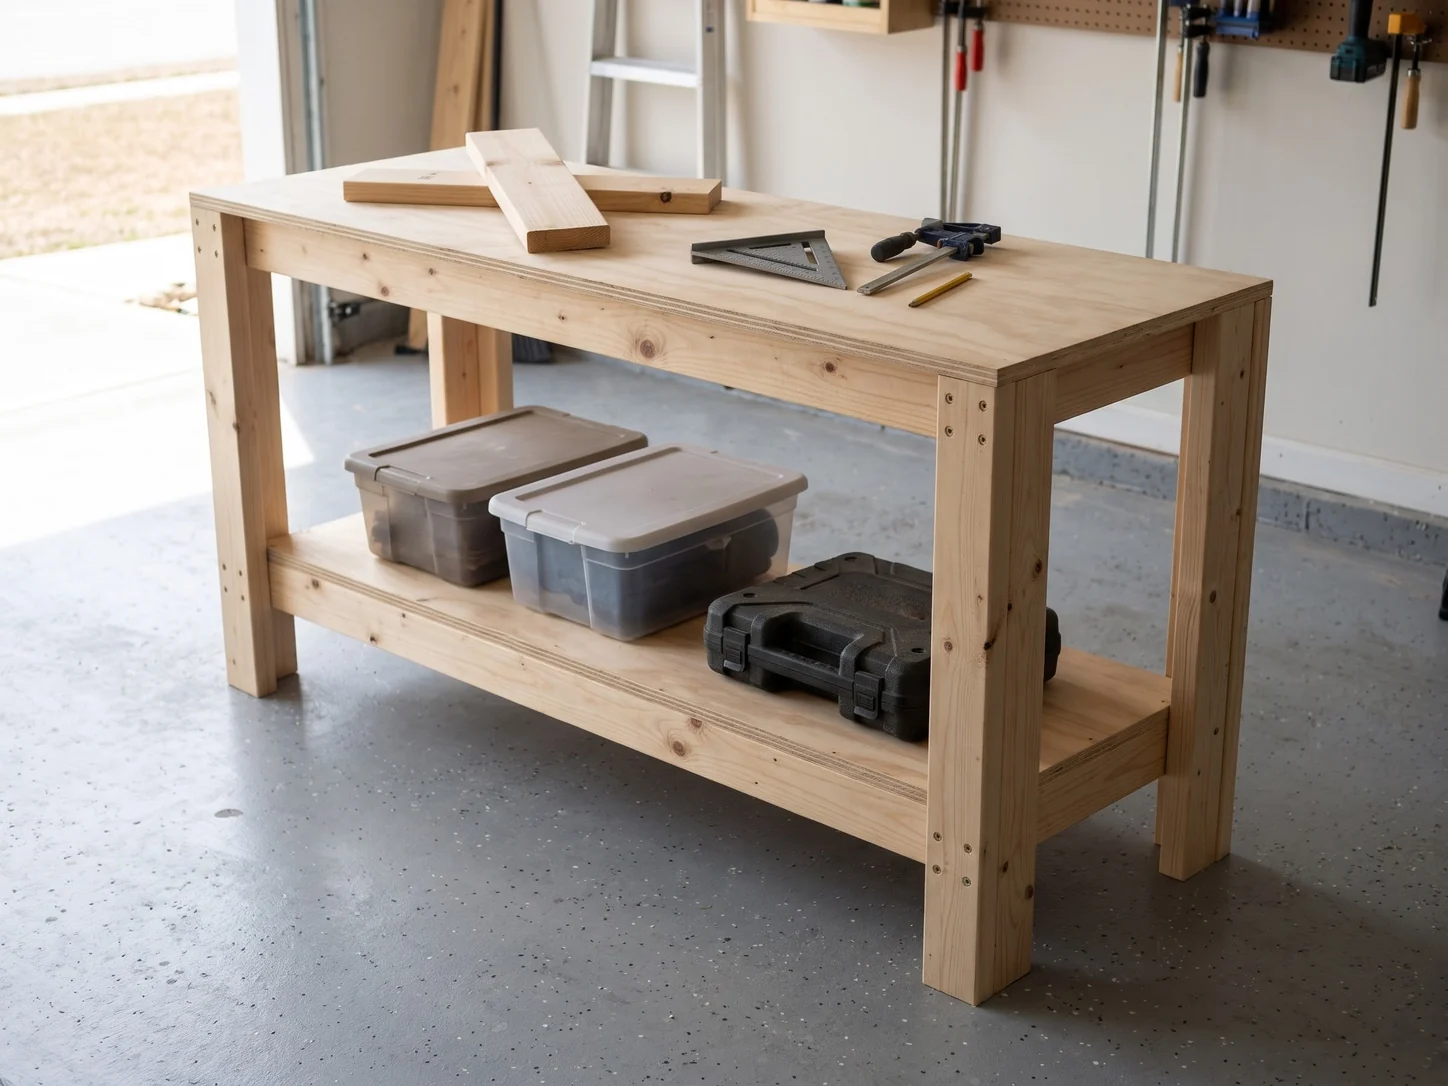
A 6 ft workbench with a lower shelf, from eight 2x4s and one sheet of plywood. Straight cuts and screws, one day.
View plan