Storage & organization · 11 steps
Floating Wall Shelves
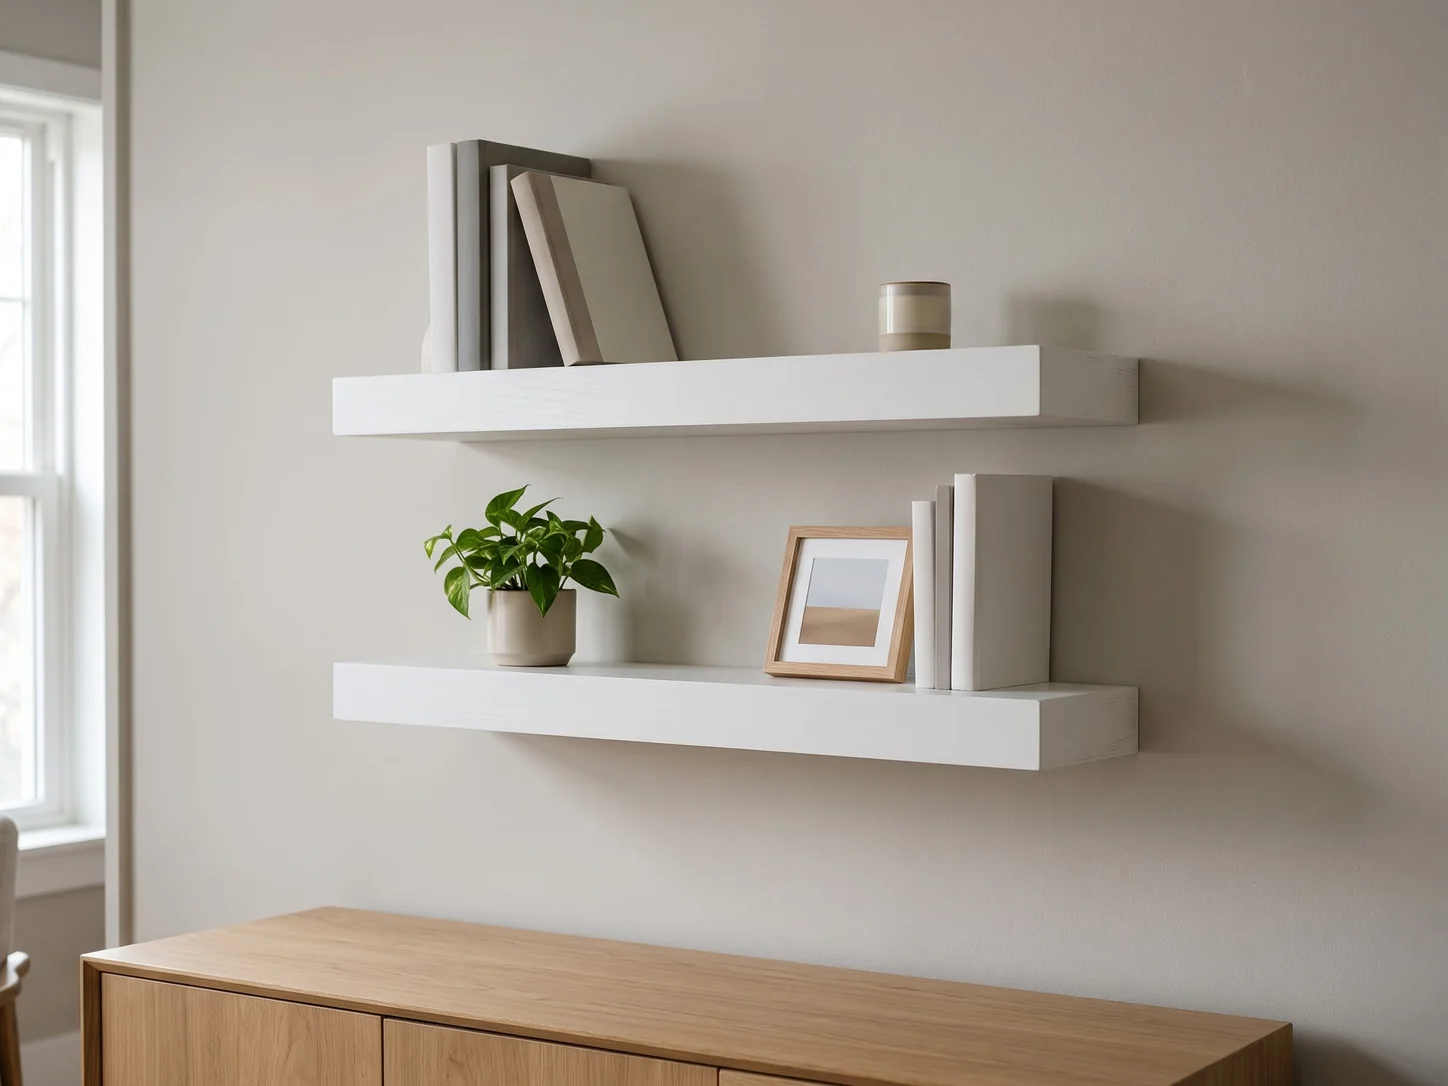
Two 36 in shelves, no bracket in sight: a plywood shell over a hidden 2x2 cleat in the studs.
- Finished size
- 36" W x 8" D x 17-13/16" H
- Metric
- 914 mm x 203 mm x 452 mm
- Material
- 3/4" and 1/2" plywood (one 2 x 4 ft panel each), plus 2x2 lumber
- Steps
- 11
- Build time
- 6 hours
- Skill
- Beginner
What you will build
These DIY floating shelves are two 36 in long, 8 in deep, 2-13/16 in thick shelves made from 3/4 in and 1/2 in plywood over hidden 2x2 cleats, and a beginner can build them in about 6 hours, with no bracket in sight. Each shelf hangs on a hidden cleat: a 2x2 back rail with six 2x2 arms, screwed into two wall studs 16 in on center with #10 x 4 in screws that go 2 in into each stud. A plywood shell with an open back slides over the cleat: a 3/4 in top, front and ends joined with dowels and glue, and a 1/2 in bottom. The shell has 1/16 in of play at each end of the cleat and 1/16 in over the height of the arms, so it slides on without forcing, and 12 screws from below hold it, so no screw shows on the top, the front or the ends. Under a load the top settles onto the arms, the arms rest on the rail, and the rail is screwed into the studs. Both shelves come from one 2 x 4 ft panel of 3/4 in plywood, one of 1/2 in plywood and two 8 ft 2x2s. You need a circular saw, a drill and a dowel jig, and drying time for the finish.
Cut list
Both shelves. Tops, fronts, ends: 3/4 in plywood. Bottoms: 1/2 in plywood. Rails, arms: 2x2.
| Part | Name | Material | Qty | Length | Width |
|---|---|---|---|---|---|
| A | Top | 3/4" plywood | 2 | 36" (914 mm) | 8" (203 mm) |
| B | Bottom | 1/2" plywood | 2 | 36" (914 mm) | 8" (203 mm) |
| C | Front | 3/4" plywood | 2 | 36" (914 mm) | 1-9/16" (40 mm) |
| D | End | 3/4" plywood | 4 | 7-1/4" (184 mm) | 1-9/16" (40 mm) |
| E | Back rail | 2x2 | 2 | 34-3/8" (873 mm) | 1-1/2" (38 mm) |
| F | Arm | 2x2 | 12 | 5-1/2" (140 mm) | 1-1/2" (38 mm) |
Tools
- Circular saw
- 4 ft straightedge
- Bar clamps (4)
- Tape measure
- Speed square
- Drill / driver
- 13/64" drill bit
- 3/16" drill bit
- 1/8" drill bit, 6 in long
- 7/64" drill bit, 6 in long
- Countersink bit with 1/8" pilot drill
- Dowel jig + 3/8" bit
- 3/8" dowel centers
- Random orbit sander
- Stud finder
- 4 ft level
Materials
- 13/4" plywood project panel, 2 x 4 ft (birch or sanded pine)
- 11/2" birch plywood project panel, 2 x 4 ft
- 22x2 x 8 ft boards, 96 in, straight (cleats)
- 12#10 x 3-1/2" coarse-thread wood screws (cleats; 12 needed, a box of 25 is fine)
- 4#10 x 4" coarse-thread wood screws (studs; 4 needed, a pack of 10 is fine)
- 46#8 x 1-1/4" flat-head wood screws (shells; 46 needed, a box of 50 is fine)
- 163/8" x 1-1/2" fluted dowel pins (16 needed, a pack of 20 or more is fine)
- 1Wood glue
- 1Wood filler
- 1 setSandpaper 120 / 180 / 220 grit
- 1Wipe-on polyurethane (or stain + poly)
- 1Rigid foam board, 4 x 8 ft (to cut on)
- 1Masking tape, 1 roll (depth-stop flag on the drill bit)
Tool and material links are affiliate links. Disclosure.
Step-by-step instructions
The same steps as the interactive 3D guide, where each step is animated.
1The finished project
Two floating shelves, each 36" long, 8" deep and 2-13/16" thick, on hidden cleats screwed into the wall studs.
- Read every step once before you cut anything.
- Each shelf has two halves. The cleat is a ladder of 2x2s: a back rail E, 34-3/8" long, and six arms F, 5-1/2" long. It is screwed into two wall studs 16" apart, and the shelf is centered on them.
- The shell is a plywood box with an open back: a 3/4" top A, a 1/2" bottom B, a front C and two ends D. It slides over the cleat and is screwed to the arms from below, so no screw shows on the top, the front or the ends.
- Inside the shell the cleat has 1/16" of play at each end and 1/32" above and below the arms, so the shell slides on without forcing. Under a load the top settles onto the arms, the arms rest on the rail, and the rail is screwed into the studs.
- This plan hangs the second shelf 15" above the first, which leaves 12-3/16" of clear space between them.
- The plan is drawn for 1/2" drywall on wood studs 16" on center, a spacing the 2021 International Residential Code (IRC), Table R602.3(5), allows, along with 24". Studs 24" on center are not covered, and neither are metal studs, plaster and masonry.
This plan does not give a weight rating. The shelves are for books, plants and decor. Each cleat must be screwed into two wall studs: never hang it on drywall anchors alone.
2Tools & materials
Gather everything before you start.
- Buy one 3/4" plywood project panel, 24" x 48", for the tops, fronts and ends, and one 1/2" panel of the same size for the bottoms. Birch takes paint and a clear finish well.
- Buy two straight 2x2 boards, 96" long. A 2x2 measures 1-1/2" x 1-1/2": check yours with the tape. If it is thicker, cut the fronts and ends that much wider in step 3, so the shell still slides on.
- Pick up the screws on the materials list: 12 #10 x 3-1/2 in for the cleats, 4 #10 x 4 in for the studs and 46 #8 x 1-1/4 in for the shells. The three sizes are not interchangeable.
- Check your wall: this plan is for 1/2" drywall on wood studs. Thicker drywall needs longer stud screws (step 9). Metal studs, plaster and masonry are not covered.
Wear eye and hearing protection when cutting and drilling.
3Cut the plywood
Cut two tops, two fronts and four ends from the 3/4" panel, and two bottoms from the 1/2" panel.
- Lay the 3/4" panel on the foam board on the floor and set the blade about 1/4" deeper than the plywood. For every long cut, clamp the straightedge to the wide part of the panel, so the saw base rides on it and the strip you cut off falls free.
- Rip the three narrow strips first, while the panel is still wide: measure 1-9/16" from the factory edge, cut, then measure each next strip from the fresh cut edge. After each cut the panel is 22-5/16", 20-5/8" and 18-15/16" wide.
- Cut the first two strips to 36" for the fronts C, and cut one end D, 7-1/4" long, from the rest of each. Cut the third strip into two more ends D: four ends in all.
- Rip the tops from the rest: 8" wide, which leaves 10-13/16", then 8" again, which leaves a 2-11/16" offcut. Crosscut both to 36": the tops A.
- Rip the 1/2" panel into two strips 8" wide and crosscut both to 36": the bottoms B.
- Pencil the letter on every part. The fronts and the ends must all be exactly the same width: that width sets the play above and below the arms.
Each cut removes about 1/8" of wood (the saw kerf). The layout already allows for it.
Let the narrow strips drop onto the foam board and pick them up only after the blade has stopped.
4Cut the cleat parts and drill the rails
Cut two back rails and twelve arms from the 2x2s, and drill six arm holes in each rail.
- From each 2x2, cut one back rail E, 34-3/8" long, and six arms F, 5-1/2" long. Clamp the board to the bench with the cut line just past the edge and cut each arm off its end, so you never hold a short piece near the blade.
- Pencil BACK on one face of each rail: that face goes against the wall. The drawing shows the rail as it sits on the wall, BACK face toward you.
- On the middle of the BACK face, 3/4" from both long edges, mark six arm holes: the first 3/4" from one end, then 4-7/16", 8", 8", 8", 4-7/16" apart. The last one is 3/4" from the other end.
- With a scrap board under the rail, drill a 13/64" clearance hole straight through at each mark and countersink it on the BACK face. That is 6 holes per rail, 12 in all.
Drill straight and square to the face: each screw must land in the middle of an arm end that is only 1-1/2" wide.
Every arm must be the same length, or the shell will not sit flat on the arms. Cut one, check it, then use it to mark the others.
5Build the two cleats
Glue and screw six arms to each rail, square to it. Check the diagonals before the middle arms go on.
- Lay a rail flat on the bench, BACK face out, flush with the front edge, so the drill reaches the BACK face. The arms lie behind it.
- Brush a thin first coat of glue on the end of an end arm and let it soak in a few minutes. Glue it again, set it against the rail, flush with the rail end and centered on its hole, and clamp both to the bench. Through the hole, drill a 1/8" pilot 2" deep into the arm with the long bit and drive a #10 x 3-1/2 in screw. Do the other end arm the same way.
- Measure both diagonals of the frame, from the back corner at one end of the rail to the front corner of the arm at the other end: both must be 35-1/16". If they differ, push the end arms square while the glue is wet until both match.
- Glue, clamp and screw the four middle arms the same way, each one squared to the rail with the speed square before you drive its screw: 6 screws per cleat, 12 in all.
- Build the second cleat the same way and let the glue dry. Later the shell, screwed to every arm from below, ties the arms together.
Every screw head must sit flush with or below the BACK face. A head that sticks out keeps the cleat off the wall.
6Dowel the front and ends to the top
Drill dowel holes in the fronts, the ends and the tops, then glue each front and its two ends under a top.
- Lay each top A good face down on a towel and pencil BACK on the long edge that goes against the wall. Pencil TOP on one long edge of each front C and end D.
- In the middle of the TOP edge of each front, mark four dowel centers: 4-1/2" from each end, 9" apart. On the TOP edge of each end (second view), mark two: 2" and 5" from the end that will touch the front, 3" apart, so the last one is 2-1/4" from the other end.
- Drill each mark 1-1/16" deep with the dowel jig and a 3/8" bit, with a flag of masking tape on the bit as a depth stop.
- Put dowel centers in the holes and press each part onto the underside of the top where it goes: the front flush with the front edge and both ends, each end flush with an end and the BACK edge. Drill the marks in the top only 1/2" deep.
- Glue the holes, the TOP edges and the joints between the ends and the front, push in the dowels, press the parts onto the top and clamp. Square the ends to the front with the speed square and wipe off the squeeze-out. Build the second shell the same way.
Drill the tops only 1/2" deep. The top is 3/4" thick: a deeper hole comes through the shelf surface.
7Close the shell with the bottom
Drill 11 holes in each bottom, then glue and screw it to the front and the ends.
- Pick the better face of each bottom B: it is the underside of the shelf, so it faces up while you work on the upside-down shell. Pencil FRONT on one long edge.
- Mark five holes 3/8" from the FRONT edge: the first 2" from either end, then 7", 9", 9" and 7" apart.
- At each end, mark three holes 3/8" from the end (second view): the first 1-1/2" from the FRONT edge, then 2-3/4" and 3" apart. The last one is 3/4" from the back edge.
- With a scrap under the panel, drill a 3/16" clearance hole at all 11 marks and countersink each one on the marked face.
- Glue the bottom edges of the front and the ends, lay the bottom on them, marked face up and flush all around, and clamp. Through each hole, drill a 7/64" pilot about 3/4" into the edge below with the long bit and drive a #8 x 1-1/4 in screw.
Before the glue sets, check the opening at the back: it must be 1-9/16" tall and 34-1/2" wide all along, or the shell will not slide over the cleat.
8Mark the studs and the level lines
Find two studs 16" apart, and draw two level lines 15" apart between them.
- Choose the spot. Each shelf is centered on two studs: its ends reach 10" past the stud centers on each side.
- Find both studs with the stud finder and mark their centers. The centers should be 16" apart; if they are more than 3/4" off, pick another pair of studs.
- Lower shelf: draw a level line where the bottom edge of the rail goes, 1/2" above where you want the underside of the shelf. Draw it with the level, from 17-1/2" left to 17-1/2" right of the middle between the stud marks.
- Upper shelf: draw a second level line 15" above the first. Measure at both ends with the tape, then check it with the level.
- Draw each stud center line 2" above and 2" below each level line, so it shows around the rail.
- At each stud mark, 3/4" above each line (the middle of the rail), drill a 1/8" test hole with the long bit: it must hit solid wood. These four holes become the start of the pilots in step 9.
A stud finder finds studs; it does not show every wire or pipe. Never drill straight above or below an outlet or a switch, where wires often run along a stud, and turn off the power to that wall at the breaker if you are unsure.
Drywall anchors alone will not hold these shelves. Every cleat goes into two studs.
9Screw the cleats to the studs
Screw each cleat into both studs with two #10 x 4 in screws, level, on its line.
- Hold a cleat on the lower line, BACK face on the wall, centered between the stud marks: each stud center is 9-3/16" from an end of the rail and 4" from the centers of the two nearest arms (at exactly 16"). Follow your actual stud marks, not these numbers: mark both stud centers on the front face of the rail, at mid-height.
- Take the cleat down. Drill a 13/64" clearance hole straight through the rail at both marks and countersink them on the front face, where the screw heads go.
- With a helper, hold the cleat back on the line. Through each hole, drill a 1/8" pilot with the long bit through the drywall and 2" into the stud: 4" deep from the front face of the rail.
- Drive a #10 x 4 in screw into the first stud, check the rail with the level, then drive the second. Screw the upper cleat on its line the same way: 4 screws into the studs in all.
This plan assumes 1/2" drywall. If yours is thicker, use a longer screw for these four, so at least 1-1/2" of it is in the stud: the 1-1/2" rail, plus your drywall, plus 1-1/2" or more.
If a pilot misses solid wood, stop and find the stud again. Never use drywall anchors alone.
10Test fit, drill the arm holes and finish
Slide each shell onto its cleat to check the fit, then take it off, drill 12 arm holes in its bottom and finish it.
- Slide a shell onto its cleat, open back first, until its back edges touch the wall. It must slide on without forcing: the cleat has 1/16" of play at each end and 1/16" over the height of the arms, and the arms stop 1/4" short of the front.
- If it binds, find the shiny spot where it rubs and sand that spot of the cleat (never the shell) with 120 grit.
- Slide it off and lay it upside down on the bench. Mark six pairs of arm holes on the bottom (second view), one pair in the middle of each arm: the first pair 1-9/16" from either end, then 4-7/16", 8", 8", 8", 4-7/16" apart. In each pair the holes are 2" and 3-1/2" from the FRONT edge, 1-1/2" apart.
- Drill a 3/16" clearance hole at each of the 12 marks, straight through the bottom only, and countersink it.
- Fill any gaps in the joints with wood filler, sand the shell with 120, 180 and 220 grit and ease the sharp edges. Paint or finish it off the wall, open back edges included, and let it dry fully.
Drill the arm holes through the 1/2" bottom only, not into the top above them.
Finish in a ventilated room. Oily rags can catch fire on their own: dry them flat outdoors.
11Fix the shells to the cleats
Slide each finished shell onto its cleat and screw it to the six arms from below with 12 screws.
- Fix the UPPER shell first: once the lower shell is on, the gap under the upper one is too tight for the long bit. Slide the shell on until it touches the wall. Through each arm hole, drill a 7/64" pilot about 3/4" into the arm with the long bit and drive a #8 x 1-1/4 in screw, end arms first. Then the lower shell the same way. The bottom pulls tight to the arms, leaving 1/16" under the top, by design: under a load the top settles onto the arms.
- Fill the 23 screw heads under each shelf (46 in all), sand them flush and touch up the finish. Then load books, plants and decor, spread along each shelf.
No weight rating: for books, plants and decor. Never hang or stand on the shelves.
Floating Wall Shelves: frequently asked questions
What size are these floating shelves?
Each Floating Wall Shelf is 36 in long, 8 in deep and 2-13/16 in thick (914 x 203 x 71 mm), and the plan builds two identical shelves. Hung 15 in apart, as drawn, they leave 12-3/16 in (310 mm) of clear space between them, and the pair is 17-13/16 in (452 mm) tall from the lower underside to the upper top.
What materials do I need to build floating shelves?
The two Floating Wall Shelves need one 2 x 4 ft panel of 3/4 in plywood, one 2 x 4 ft panel of 1/2 in plywood and two 2x2 boards 8 ft long. The 3/4 in panel gives the tops, fronts and ends, the 1/2 in panel the bottoms, and the 2x2s the two hidden cleats. You also need 12 #10 x 3-1/2 in screws, 4 #10 x 4 in screws, 46 #8 x 1-1/4 in screws, 16 dowel pins (3/8 x 1-1/2 in), wood glue, wood filler, masking tape, sandpaper and a finish.
How do floating shelves attach to the wall?
Each Floating Wall Shelf hangs on a hidden 2x2 cleat that is screwed into two wall studs with two #10 x 4 in screws, which pass through the rail and 1/2 in drywall and go 2 in (51 mm) into each stud. The plywood shell slides over the six arms of the cleat and is held by 12 #8 x 1-1/4 in screws driven up through its bottom, so no screw shows on the top, the front or the ends. Under a load the top settles onto the arms, the arms rest on the rail, and the rail is screwed into the studs.
Do floating shelves have to be screwed into studs?
Yes, the cleat of each Floating Wall Shelf must be screwed into two wall studs: drywall anchors alone will not hold it. The plan is drawn for wood studs 16 in (406 mm) on center (the 2021 International Residential Code (IRC), Table R602.3(5), allows 16 and 24 in), with the shelf centered on them, so each end of the shelf is 10 in past a stud center. If your stud centers are more than 3/4 in off that spacing (studs 24 in on center, for example), or the wall has metal studs, plaster or masonry, this plan does not cover that wall.
What tools do I need to build floating shelves?
You need a circular saw, a 4 ft straightedge, bar clamps, a tape measure, a speed square, a drill/driver, a 13/64 in and a 3/16 in drill bit, 6 in long 1/8 in and 7/64 in drill bits, a countersink bit, a dowel jig with 3/8 in dowel centers, a random orbit sander, a stud finder and a 4 ft level to build the Floating Wall Shelves. A sheet of rigid foam board on the floor supports the plywood while you cut it.
How long does it take to build floating shelves?
A beginner can build the two Floating Wall Shelves in about 6 hours, plus drying time for the glue and the finish. The plan has 11 steps, 24 parts, 62 screws and 16 dowels, and the cleats go on the wall before the finished shells slide over them.
Can I make these floating shelves longer?
The Floating Wall Shelves plan is drawn at 36 in long only, on two studs 16 in apart. The cleat length, the arm spacing, the stud screws, every hole position and the plywood layout come from that length, so a longer shelf changes the cut list and the drawings and is not covered by this plan.
What can I put on floating shelves?
Each 36 in Floating Wall Shelf is designed for light loads such as books, plants and decor, spread along the shelf. The plan gives no weight rating. Never hang on the shelves, stand on them or use them as a step.
Get the next plan
We let you know when a new plan is published.
More plans
Raised Garden Bed
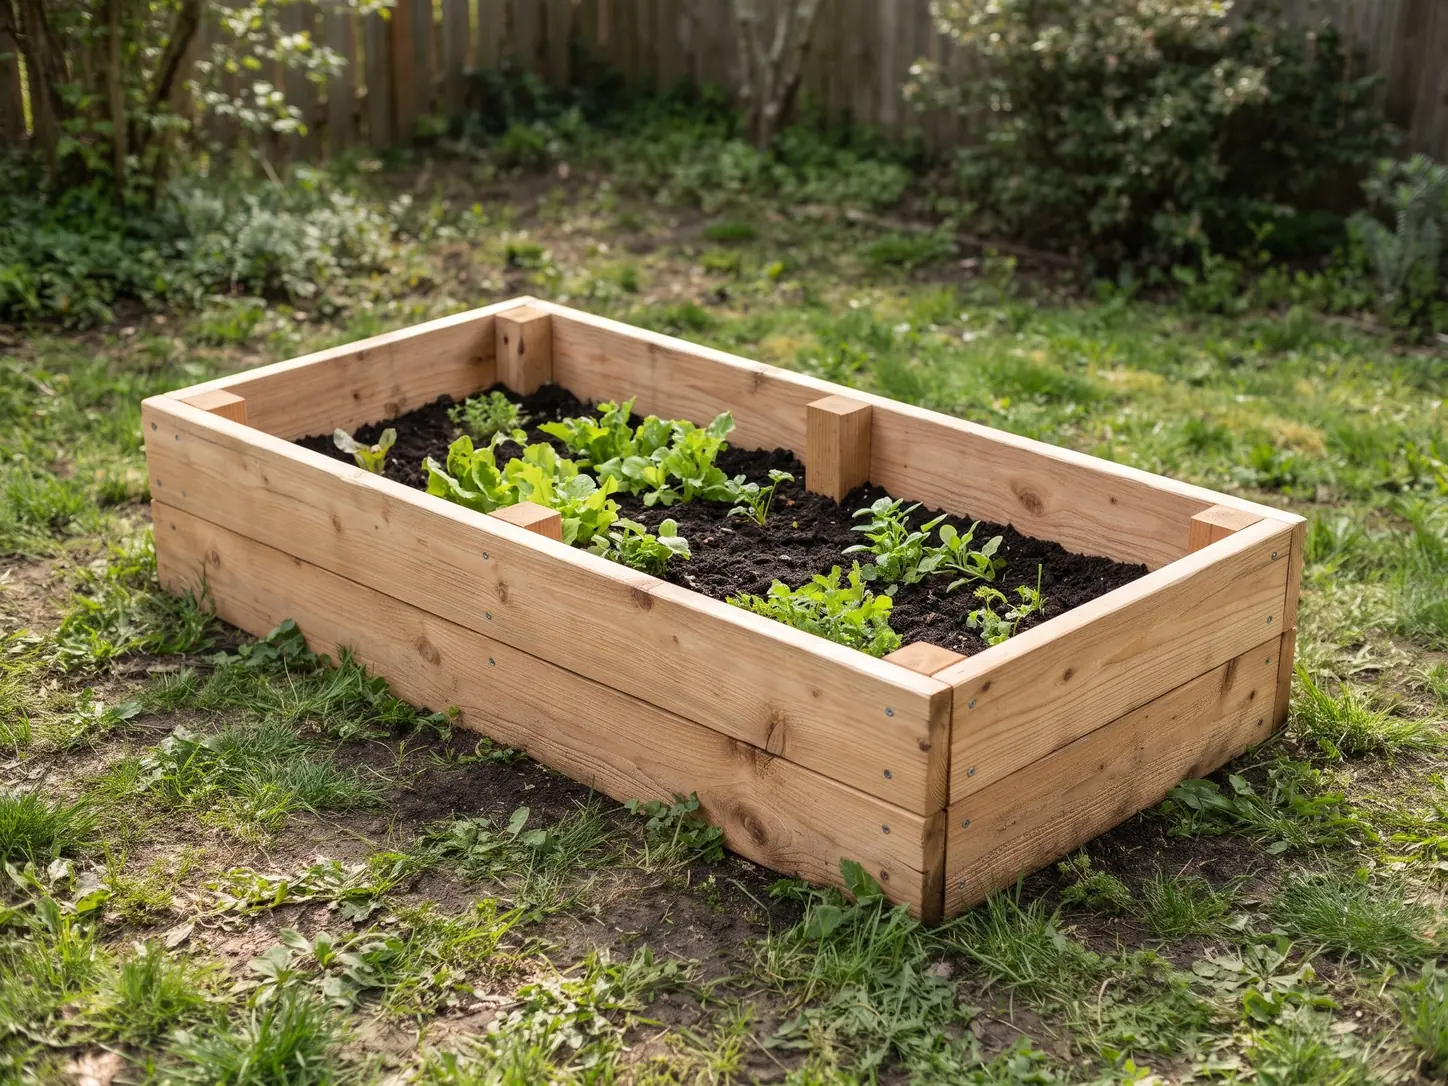
A 4 x 8 ft cedar bed, 11 in deep, from six 2x6 boards and one 4x4 post. Straight cuts and 40 screws, one afternoon.
View planGarage & workshop2x4 Garage Shelving
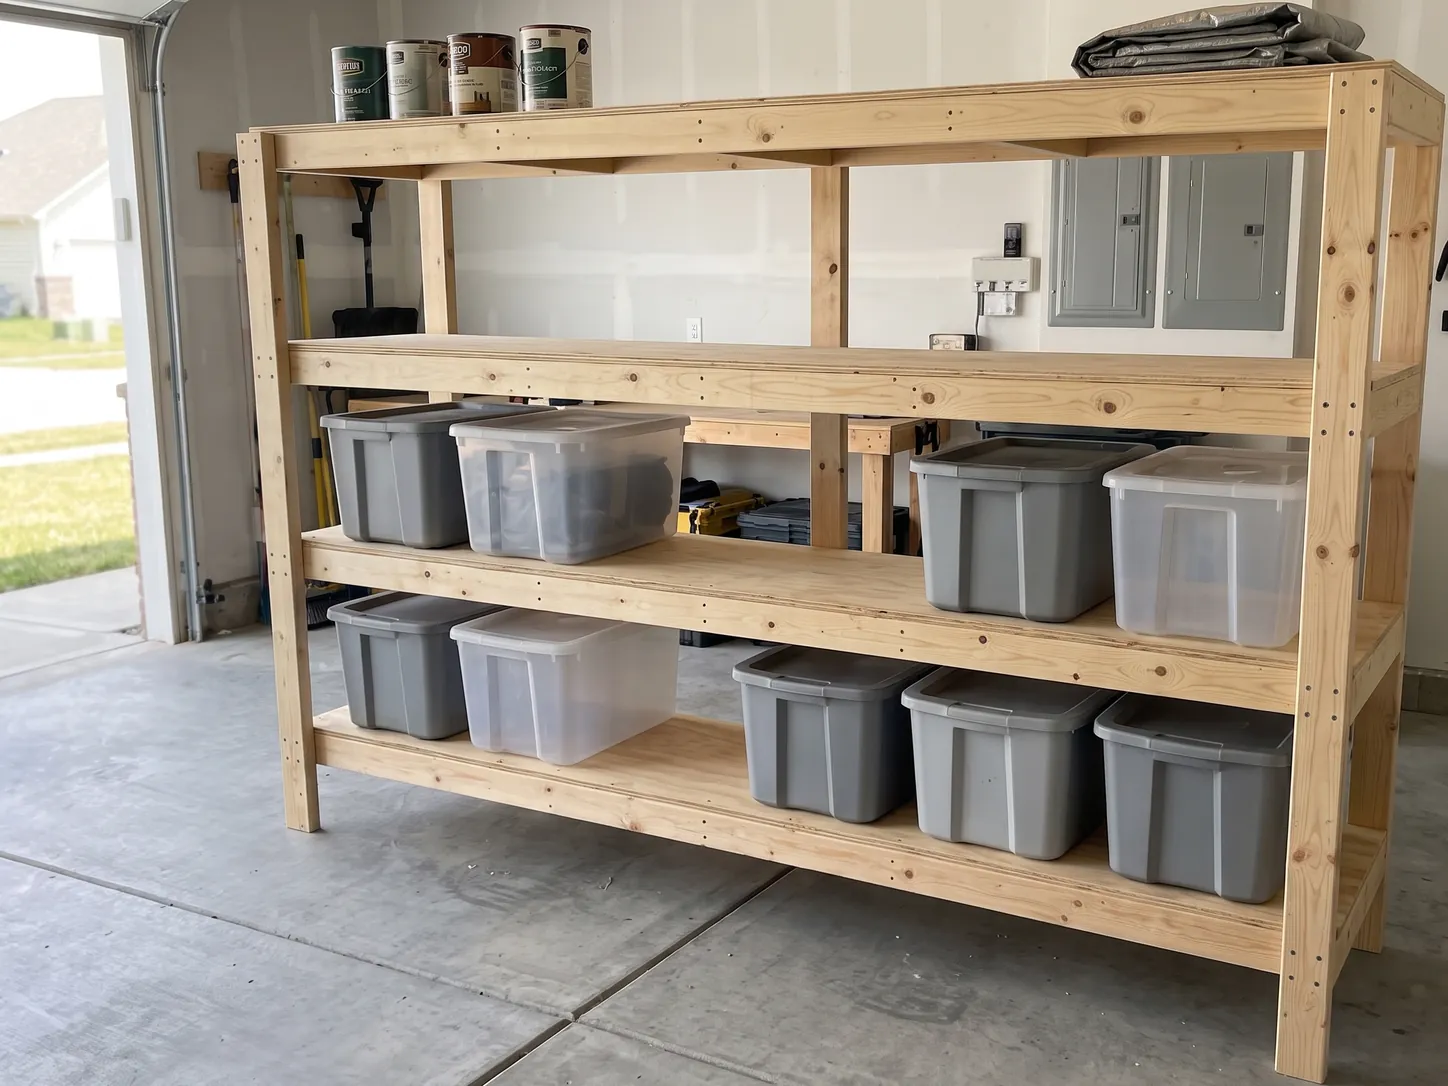
Freestanding 8 ft shelving from 2x4s and plywood. Four 24 in deep shelves, one afternoon with a helper.
View planBedroomPlatform Bed Frame
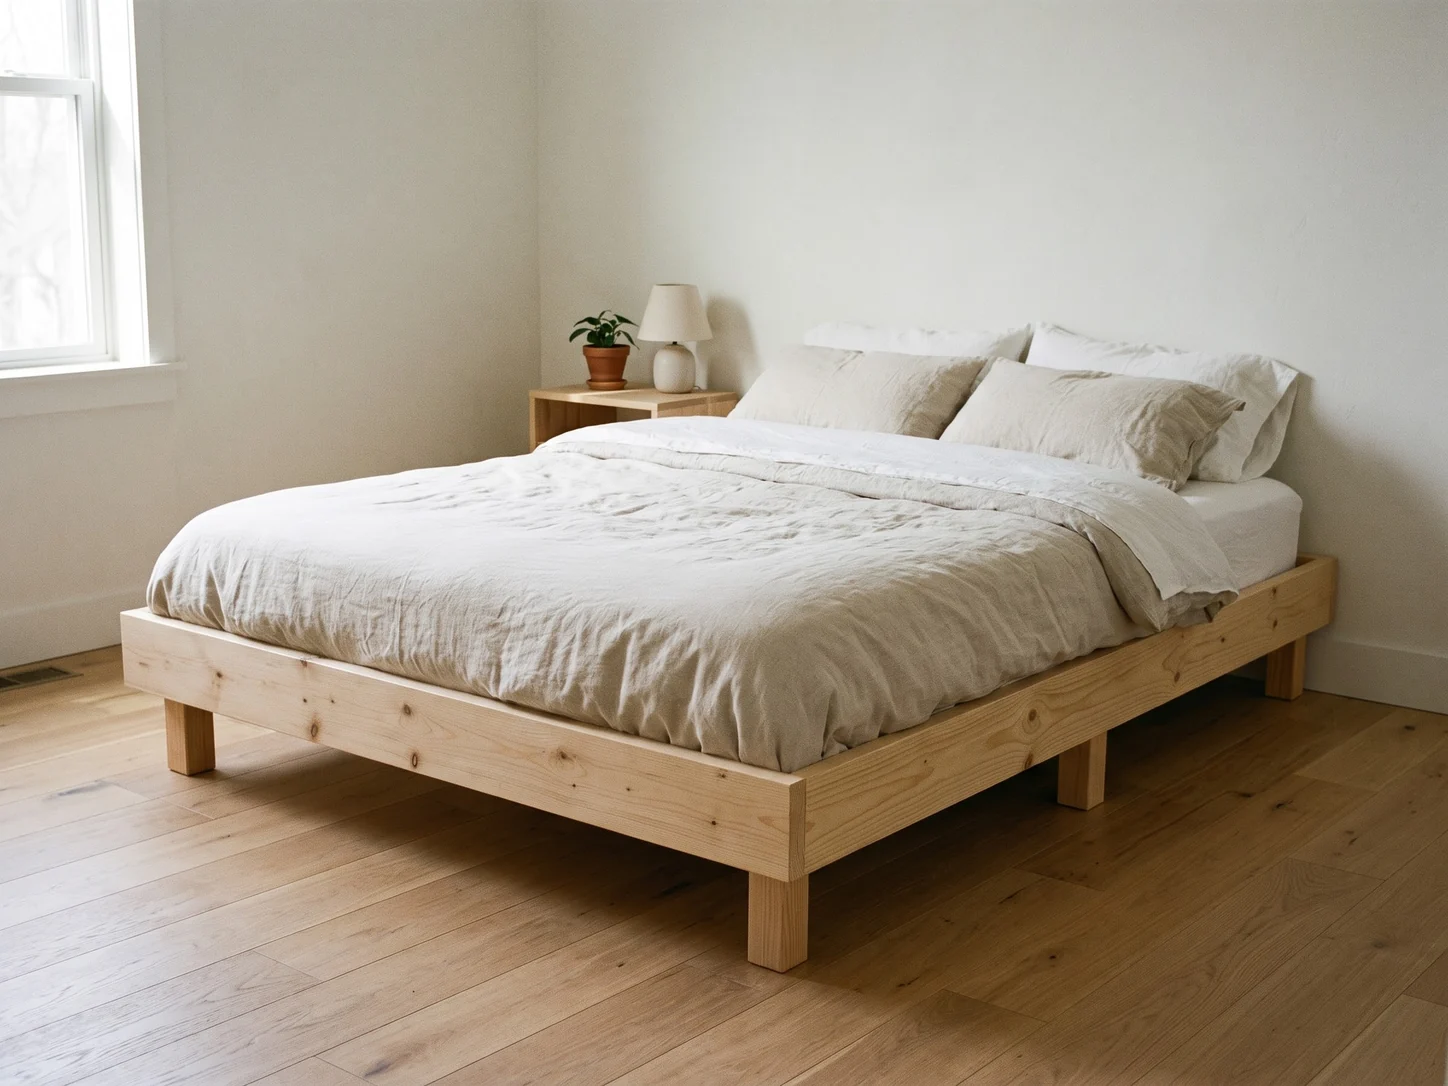
A queen bed frame from 2x6 rails, 1x4 slats and 4x4 legs. No box spring needed, straight cuts only.
View plan